The Saturday Morning Garage Discovery
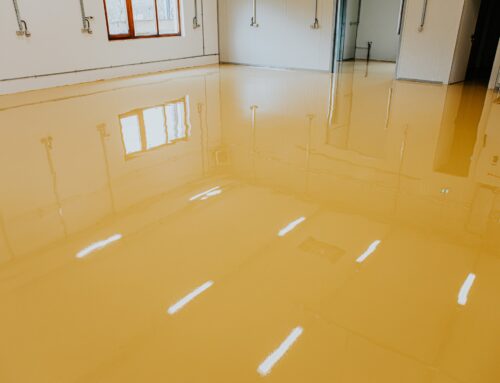
You walk into your Porter Ranch garage on a warm Saturday morning, coffee in hand, ready to organize your tools. Then you notice them: clusters of small bubbles scattered across the epoxy floor you had installed just three months ago. Some are barely visible pinpricks; others look like blisters about to pop. The floor that cost you a significant portion of your home improvement budget—an investment that made sense given Porter Ranch’s median home value of $946,500—now looks flawed. You press your thumb against one of the larger bubbles and feel it give slightly under pressure. Now what?
📋 In This Guide
Understanding Why Epoxy Bubbles Form in Porter Ranch’s Climate
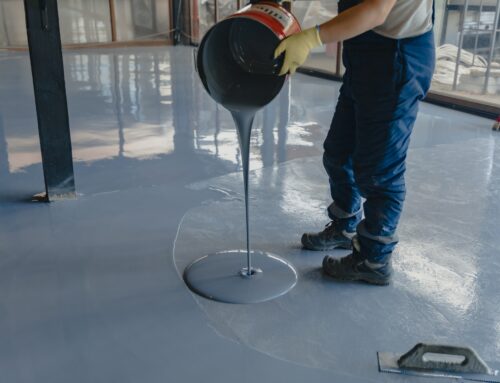
Porter Ranch sits in a unique microclimate where summer temperatures can spike above 100°F while winter nights occasionally drop to the 40s. This temperature swing creates specific challenges for epoxy applications that homeowners in more temperate zones don’t face. Bubbles form when trapped air or gases escape through the curing epoxy—a process called outgassing. In the unique heat patterns of Porter Ranch, concrete slabs absorb daytime heat and release it slowly overnight. When epoxy is applied over warm concrete, that thermal release accelerates outgassing from tiny pores in the concrete substrate.
Moisture presents another culprit. While Porter Ranch averages only 15 inches of annual rainfall, subsurface moisture can still accumulate under garage slabs, especially in older homes near Aliso Canyon Park where drainage patterns shift with the terrain. When moisture vapor pressure exceeds the epoxy’s adhesive strength, bubbles form as water vapor pushes upward. Application errors—mixing epoxy too vigorously, applying coats too thick, or working in direct sunlight—compound these natural challenges. As an epoxy floor contractor in Porter Ranch, we see these issues more frequently in homes where DIY installations attempted to save costs without accounting for local conditions.
Evaluating Your Specific Bubble Problem
Not all bubbles represent the same problem or require the same fix. First, determine when the bubbles appeared. Bubbles that form within 24-48 hours of application typically indicate application temperature issues or improper mixing. Bubbles that develop weeks or months later usually point to moisture problems or substrate issues that weren’t properly addressed during preparation.
Next, assess bubble size and distribution. Pinhole bubbles smaller than a pencil eraser, scattered randomly across the surface, often result from air entrainment during mixing or rapid temperature changes during curing. These rarely compromise structural integrity. Larger bubbles—quarter-sized or bigger—especially clustered in specific areas, suggest more serious substrate problems. Check if bubbles appear predominantly near garage door openings, along perimeter walls, or in low spots where water might collect. In The Vineyards neighborhood, where many homes were built in the early 2000s, we’ve found that bubbles often cluster where original concrete pours created subtle grade variations.
Perform a simple adhesion test: use a utility knife to carefully cut around a bubble and try to peel back the epoxy. If it lifts easily with minimal resistance, you have an adhesion failure requiring more extensive repair. If the epoxy resists and stays bonded to the concrete, you’re likely dealing with trapped gas that can be spot-repaired.
DIY Repair Techniques for Minor Bubble Issues
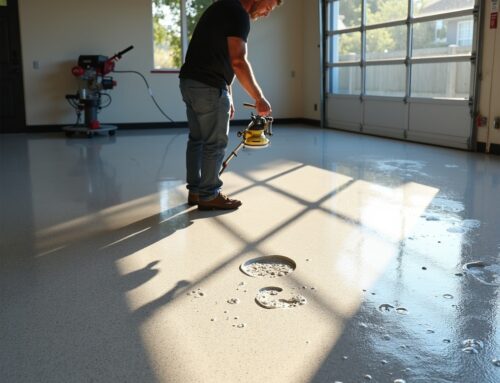
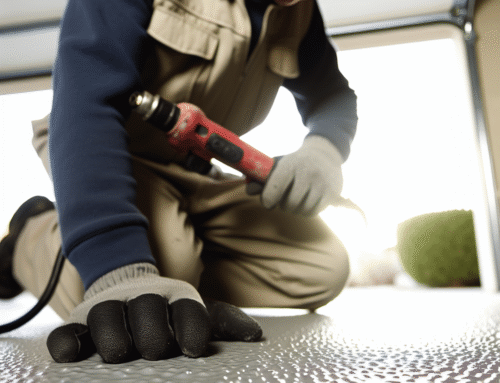
For pinhole bubbles that haven’t compromised the coating’s structural bond, a simple sanding and recoating approach often works. Wait until the epoxy has fully cured—at least seven days in Porter Ranch’s typical 75-85°F garage temperatures, longer if installed during cooler months. Use 120-grit sandpaper on a pole sander to lightly abrade the affected area, creating a slightly textured surface that extends about six inches beyond the visible bubbles. Clean thoroughly with a shop vacuum followed by a tack cloth, then apply a thin seal coat of the same epoxy system. Work during morning hours when garage temperatures are stable—typically between 65-75°F—and avoid application when forecasts predict the extreme temperature swings common in Porter Ranch’s summer months.
For larger individual bubbles where the coating hasn’t delaminated, use the “puncture and fill” method. Sterilize a fine needle or pin with rubbing alcohol, then puncture the bubble’s center to release trapped gas. Press firmly around the puncture to expel any remaining air. Sand a small area around the repair spot with 220-grit sandpaper, clean with acetone on a lint-free cloth, and apply a small amount of epoxy using a foam brush. Feather the edges to blend with the surrounding surface. This technique works best for isolated bubbles no larger than a half-dollar.
Addressing Widespread Bubble Failures and Moisture Problems
When bubbles cover more than 10-15% of your floor area, or when adhesion testing reveals widespread bonding failure, surface repairs won’t provide lasting results. These situations typically require partial or complete removal and reinstallation. In Porter Ranch homes, particularly those in the northern developments near Porter Ranch Community School, we’ve encountered cases where groundwater migration created ongoing moisture problems that were never addressed before the original epoxy application.
Before attempting any major repair, conduct a moisture test. Tape a 2×2-foot piece of plastic sheeting to the concrete using duct tape around all edges. Wait 24 hours, then check for condensation under the plastic. Any moisture accumulation indicates a vapor transmission problem that must be resolved before recoating. Solutions range from applying a moisture-mitigating primer system (for moderate vapor transmission) to installing a complete moisture barrier system (for severe cases). Given that this diagnostic work and specialized products represent a significant investment—often $3-6 per square foot for materials alone in Porter Ranch’s market—many homeowners at this stage choose to consult professionals who can properly scope the underlying issue.
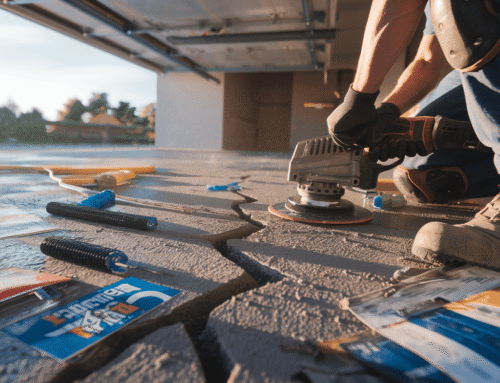
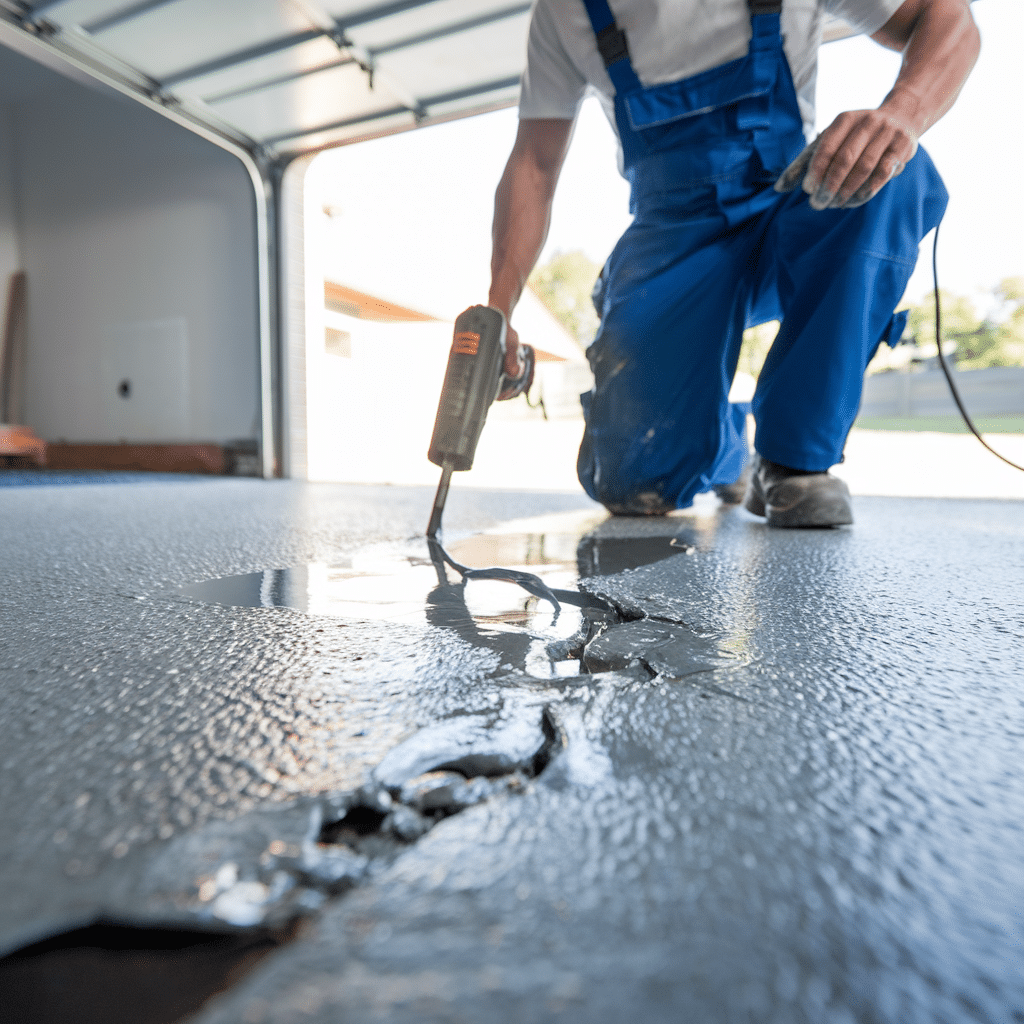
Removal of failed epoxy requires grinding equipment that creates substantial dust. Rent a concrete grinder with vacuum attachment or hire a specialized grinding service. Expect to invest 6-8 hours of labor for a standard two-car garage, plus disposal fees for contaminated debris. The concrete must then be re-profiled, tested for moisture, and properly prepared before any new coating application.
Prevention Strategies for Long-Term Success
If you’re considering a new epoxy installation or planning to repair your current floor, prevention begins with substrate preparation. Concrete must be properly diamond-ground or acid-etched to create the necessary surface profile for mechanical bonding. In Porter Ranch’s older homes where garage slabs may have been sealed or treated with curing compounds, chemical strippers may be necessary before grinding. Never skip the moisture testing phase, regardless of how dry the concrete appears. Porter Ranch’s proximity to the Santa Susana Mountains creates subtle microclimates where moisture behavior varies block to block.
Temperature management during application matters enormously. Avoid application when daytime temperatures exceed 90°F or when overnight lows drop below 50°F. The ideal window is spring mornings between March and May, or fall mornings from September through November, when Porter Ranch experiences its most stable temperature patterns. If you must apply during summer, start before sunrise and work quickly, keeping unmixed epoxy components in air-conditioned spaces until needed. Proper mixing technique also prevents air entrainment: use a drill mixer at low speed (400-600 RPM), moving the paddle slowly through the material rather than whipping it like cake batter.
At Five Star Epoxy & Coatings, we’ve developed application protocols specifically adapted to Porter Ranch’s conditions, which is why our installations consistently avoid the bubbling problems that plague DIY and discount installations. We monitor substrate temperature, ambient temperature, and humidity levels throughout the application process, adjusting our techniques in real-time to prevent outgassing and ensure proper cure.
When to Call Professional Help
Several situations warrant professional intervention rather than DIY attempts. If your garage floor has widespread bubbling covering more than 20% of the surface, the cost and effort of proper removal and reinstallation typically exceeds what most homeowners can reasonably tackle themselves. When moisture testing reveals ongoing vapor transmission problems, professionals have access to specialized primers and barrier systems not available through retail channels. If you’ve already attempted one repair that failed, continuing down the DIY path often compounds the problem and increases eventual professional repair costs.
For Porter Ranch homeowners, another consideration is property value protection. With median home values approaching $950,000, a poorly executed garage floor repair that creates visible patches and color mismatches can negatively impact buyer perception during resale. Professional repairs typically include color matching, proper feathering techniques, and topcoat systems that integrate seamlessly with existing surfaces. The investment—usually $4-8 per square foot for professional bubble repair and recoating in the Porter Ranch market—often proves worthwhile when weighed against the alternative of a visibly patched floor.
If you’re facing significant bubble problems or want expert assessment of your situation, contact Five Star Epoxy & Coatings at (818) 355-3804. We’ll evaluate your specific circumstances, determine whether repair or replacement makes better economic sense, and provide transparent pricing based on your floor’s actual condition. Our team serves Northridge, Granada Hills, and surrounding communities with the same attention to detail and quality standards that have built our reputation in Porter Ranch.
❓ Frequently Asked Questions
How soon after installation should I expect epoxy floor bubbles to appear?
Bubbles from application errors typically appear within 24-48 hours of installation, while moisture-related bubbles may develop weeks or months later. Temperature-related outgassing usually manifests during the first cure cycle when the epoxy transitions from liquid to solid state.
Can I repair epoxy floor bubbles without removing the entire coating?
Minor pinhole bubbles and isolated larger bubbles can often be repaired through sanding and spot-recoating. However, widespread bubbling affecting more than 15-20% of the surface typically requires complete removal and reinstallation to achieve lasting results.
What causes epoxy bubbles to form months after installation in Porter Ranch garages?
Delayed bubble formation usually indicates subsurface moisture problems that weren't detected during installation. Porter Ranch's temperature fluctuations can also cause concrete to release trapped moisture vapor over time, especially in older garage slabs where waterproofing has degraded.
Should I hire Five Star Epoxy & Coatings for bubble repair or attempt DIY fixes?
Minor scattered bubbles covering less than 10% of your floor are often DIY-manageable with proper technique. Widespread bubbling, adhesion failures, or moisture problems warrant professional assessment—call (818) 355-3804 for expert evaluation and competitive pricing tailored to Porter Ranch's market.
📖 More Tips for Porter Ranch
-
 Should You Repair Concrete Cracks Before Epoxy? What Porter Ranch Homeowners Need to Know
Epoxy coatings require proper crack repair to last—but not all cracks are created equal. Learn how to assess…
-
How Porter Ranch's Unique Heat Patterns Change Garage Floor Epoxy Prep
Porter Ranch's higher elevation creates distinct temperature swings that demand specialized epoxy preparation techniques. Learn how professional installers…