When Your New Garage Floor Isn’t Picture-Perfect
A homeowner in Carlton Terrace just invested in a beautiful charcoal-gray epoxy floor for their three-car garage. Two days after installation, they walked in to find dozens of small bubbles scattered across the surface — some the size of pinheads, others as large as quarters. The bubbles hadn’t been there during curing, which made the discovery even more frustrating. In Woodland Hills, where garage temperatures can swing from morning coolness to afternoon heat exceeding 95°F during summer months, these bubble formations are more common than most homeowners realize. Understanding why they appear and how to address them can save you from a costly full replacement.
📋 In This Guide
- ▸The Science Behind Epoxy Floor Bubbling
- ○Application Errors That Create Bubble Problems
- ▸Assessing Your Bubble Problem: Minor or Major
- ▸Step-by-Step Repair Methods for Different Bubble Types
- ○Preventing Future Bubble Formation
- ▸When Professional Intervention Becomes Necessary
- ▸Cost Considerations and Long-Term Value
The Science Behind Epoxy Floor Bubbling
Bubbles in epoxy coatings form through a process called outgassing, where trapped air or moisture beneath the concrete surface rises through the coating before it fully cures. The concrete slab in your Woodland Hills home acts like a sponge — it absorbs moisture from the ground beneath and releases it as vapor when temperatures rise. During Southern California’s warm seasons, concrete surface temperatures in garages can reach 110°F or higher, especially in neighborhoods like Warner Center where afternoon sun beats directly on garage doors. This heat causes any moisture trapped in the concrete to vaporize and push upward through the still-curing epoxy, creating bubbles.
Temperature fluctuations play an equally critical role. If your epoxy was applied during a cool morning when concrete temperatures were 65°F, but afternoon temperatures spiked to 85°F during the curing window, the rapid expansion of air in the concrete’s porous structure creates pressure that forces its way through the coating. The dry climate in Woodland Hills actually works against you here — while we don’t deal with constant humidity issues like coastal areas, our concrete slabs often contain residual moisture from construction that takes years to fully dissipate. When professional epoxy services in Woodland Hills prepare floors, they account for these local conditions through moisture testing and proper surface preparation.
Application Errors That Create Bubble Problems
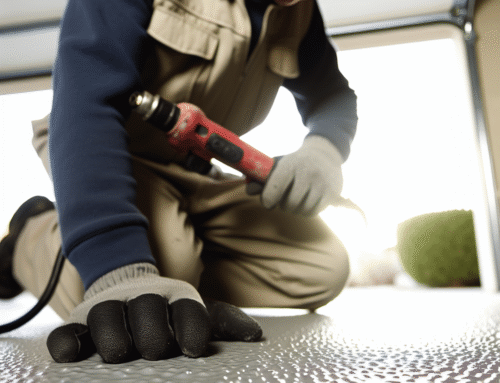
Beyond environmental factors, installation mistakes frequently cause bubble formations. Mixing epoxy too vigorously introduces excessive air into the resin, creating tiny bubbles throughout the mixture. If the installer didn’t allow adequate time for these air bubbles to rise and pop before application, they’ll remain trapped in your finished floor. Rolling the epoxy too quickly or using a foam roller instead of a proper nap roller can also whip air into the coating as it’s spread across your garage floor in Vista de Oro or other Woodland Hills neighborhoods.
Inadequate surface preparation represents another major culprit. Concrete must be diamond-ground or acid-etched to create a proper profile for epoxy adhesion. When contractors skip this step or rush through it, the coating doesn’t bond uniformly to the concrete. Pockets of poor adhesion allow air channels to form beneath the epoxy, which eventually work their way to the surface as bubbles. Given that median home values in Woodland Hills exceed $900,000, cutting corners on proper epoxy floor installation process makes little financial sense when the cost difference between proper and improper preparation is minimal compared to a full redo.
Assessing Your Bubble Problem: Minor or Major
Not all bubbles require the same response. Small surface bubbles — those under 1/8 inch in diameter that don’t break through the coating — often represent cosmetic imperfections rather than structural failures. These typically appeared during curing and haven’t compromised the floor’s protective qualities. You’ll find them most commonly in the center sections of large garage bays where heat accumulation is greatest, particularly in South Ventura Boulevard-area homes with limited cross-ventilation.
Large bubbles exceeding 1/4 inch in diameter, or bubbles that have popped to create craters in the surface, indicate more serious issues. These compromise the floor’s moisture barrier and can allow contaminants to work their way beneath the coating. If you notice bubbles continuing to form weeks after installation, or if they’re concentrated along cracks or cold joints in the concrete, moisture problems likely extend deeper than the surface. Professional evaluation becomes essential at this stage, as attempting DIY repairs without addressing the root cause will result in bubble recurrence.
Run your hand across the bubbled areas. If the epoxy feels firmly bonded to the concrete except at the bubble points, repair is usually straightforward. If large sections feel spongy or delaminated from the substrate, the coating has failed to properly adhere and will require more extensive intervention. In Woodland Hills’s climate, properly installed epoxy from experienced epoxy floor contractors should remain bubble-free for decades, so significant bubbling within the first year suggests installation defects or severe underlying moisture issues.
Step-by-Step Repair Methods for Different Bubble Types
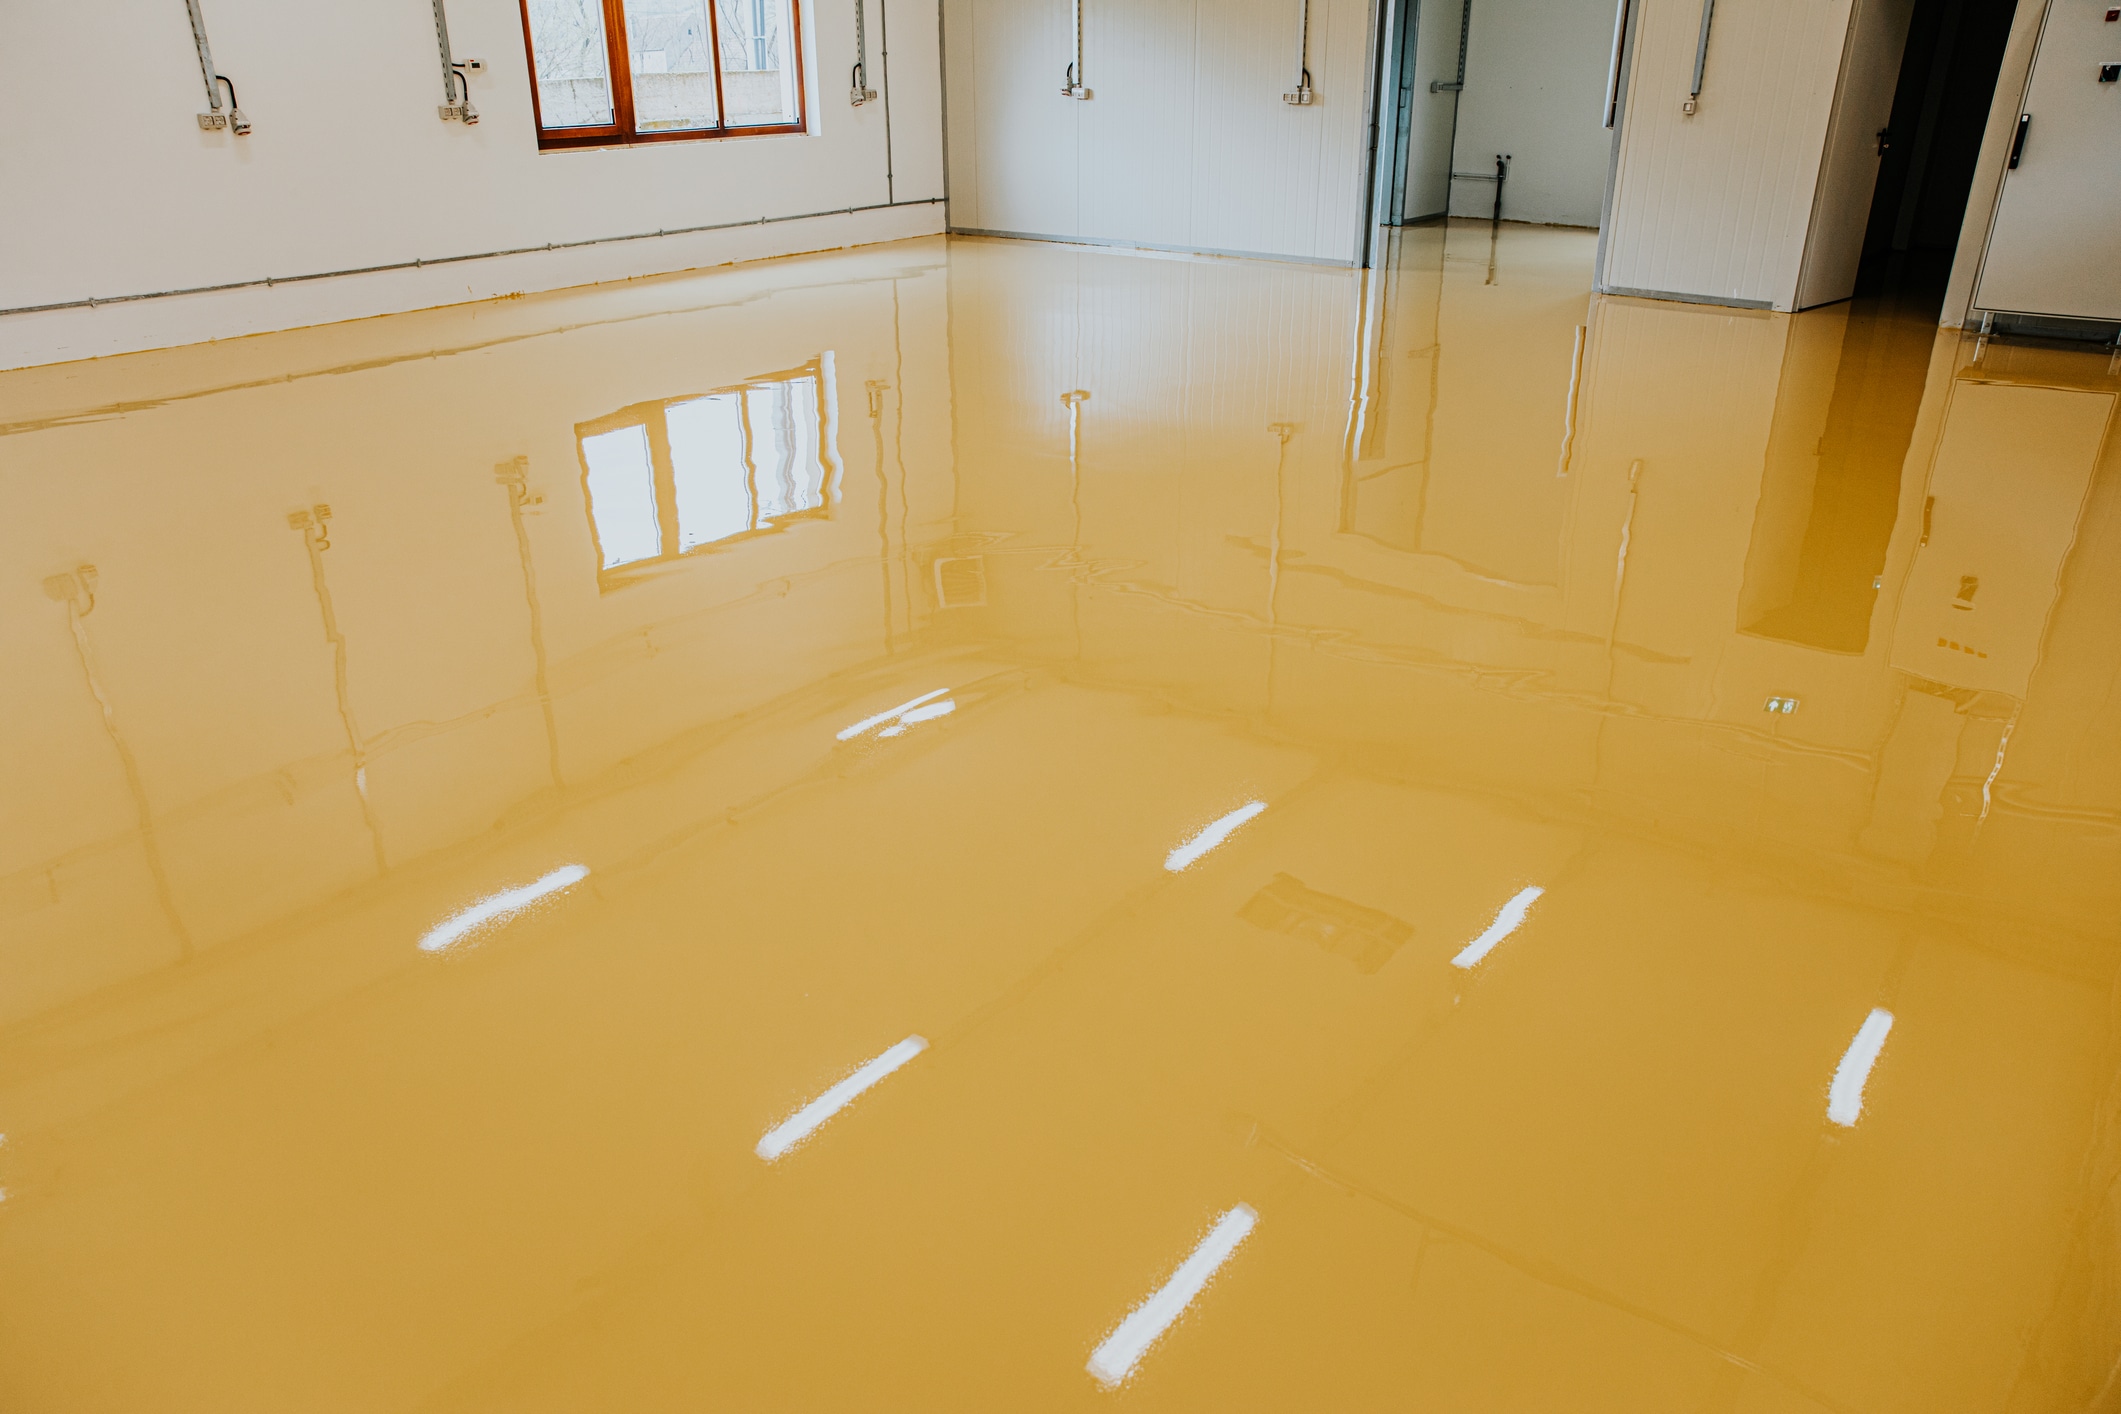
For minor surface bubbles in a recently installed floor, light sanding offers the simplest solution. Use 220-grit sandpaper to gently remove the bubble tops, feathering the edges to blend with the surrounding coating. Clean the area thoroughly with denatured alcohol, then apply a thin topcoat layer to seal the repaired spots. This works best for bubbles smaller than a dime that haven’t compromised the epoxy’s adhesion to the concrete. The repair should cure within 24 hours in typical Woodland Hills temperatures.
Larger bubbles or those that have created craters require more aggressive intervention. First, use a utility knife to carefully cut away the damaged epoxy in a clean geometric shape — square or rectangular cuts are easier to patch invisibly than irregular shapes. Grind the exposed concrete lightly with 80-grit sandpaper to create texture for the new epoxy to grip. Vacuum away all dust and debris, then wipe with acetone to remove any oils. Mix a small batch of epoxy matching your floor’s original product (texture and color matching becomes critical here). Pour the repair epoxy slightly higher than the surrounding surface to account for settling, then use a plastic spreader to level it flush. Allow 72 hours for full cure before driving on repaired sections.
Preventing Future Bubble Formation
If you’re tackling a DIY epoxy project or overseeing a contractor’s work, several preventive measures dramatically reduce bubble risk in Woodland Hills’s climate. Always apply epoxy during optimal temperature windows — concrete surface temperatures should be between 55°F and 85°F, with air temperatures remaining stable for at least 24 hours post-application. Morning applications between 7 AM and 10 AM typically offer the most stable conditions, before afternoon heat causes rapid temperature swings in garages throughout neighborhoods from Woodland Hills South of Ventura to areas near Pierce College.
Moisture testing must be non-negotiable. Use a calcium chloride moisture vapor emission test or concrete moisture meter to verify the slab isn’t releasing excessive water vapor. Acceptable readings vary by product, but most professional-grade epoxies require concrete moisture levels below 4%. If readings exceed this, wait for the slab to dry further or consider moisture mitigation primers. The Five Star Epoxy & Coatings team performs these tests as standard practice, which explains why professional installations consistently outperform DIY attempts in longevity.
When mixing epoxy, fold the components together slowly rather than stirring vigorously. After combining part A and part B, let the mixture rest for 3-5 minutes to allow entrapped air to rise and dissipate before pouring. Apply the coating in consistent 1/8 to 1/4 inch layers rather than thick single applications — thinner layers cure more uniformly and give trapped gases less opportunity to form bubbles. Use a spiked roller immediately after spreading to release any surface bubbles, then backroll with a smooth nap roller for final leveling.
When Professional Intervention Becomes Necessary
Certain bubble scenarios exceed DIY repair capabilities and require experienced technicians. If bubbling appears in a pattern following your garage’s concrete control joints, the underlying slab has structural movement issues that epoxy alone won’t solve. Cracks must be properly filled and stabilized before any coating can perform reliably. Similarly, if bubbles continue forming months after installation, or if they appear in waves with seasonal temperature changes, you’re dealing with ongoing moisture migration that demands professional moisture barrier systems.
Widespread delamination — where bubbled areas cover more than 20% of your floor surface — usually indicates the existing coating must be removed and the floor restarted from proper preparation. Attempting to patch extensive failures rarely produces acceptable results and often costs more in materials and time than having professionals remove and reinstall correctly from the beginning. For Woodland Hills homeowners investing in homes valued near $1 million, the $3-8 per square foot cost of professional installation provides better long-term value than repeated DIY repair attempts.
Chemical contamination presents another scenario requiring expert help. If your concrete was previously sealed with unknown products, or if oils have penetrated deep into the slab, surface preparation becomes far more complex. Professional contractors use specialized degreasers, shot blasting equipment, and primer systems to overcome these challenges — equipment and knowledge that DIY enthusiasts typically lack. The team at Five Star Epoxy & Coatings, reachable at (818) 355-3804, can assess whether your bubble problem stems from simple application errors or more complex substrate issues requiring advanced solutions.
Cost Considerations and Long-Term Value
Repairing minor bubble damage typically costs $200-400 for a standard two-car garage when handled professionally, covering materials and labor to patch 10-15 problem spots. This represents roughly 10% of the original installation cost, making it a worthwhile investment to preserve your floor’s appearance and protective qualities. DIY repairs cost $50-100 in materials but require careful color matching and technique to avoid visible patch marks that can decrease your home’s appeal to future buyers.
Complete floor removal and reinstallation runs $2,500-5,000 for a typical 400-500 square foot garage in Woodland Hills, depending on the coating system selected and the extent of preparation required. While this seems expensive, remember that a properly installed epoxy floor increases home value and provides 15-20 years of maintenance-free service. For homeowners in neighborhoods like Warner Center planning to sell within 5-10 years, an upgraded garage floor offers strong ROI through enhanced curb appeal and demonstrated home care.
Consider the alternative costs as well. Leaving bubble damage unrepaired allows moisture intrusion that can deteriorate your concrete slab over time, leading to spalling, cracking, and eventually requiring slab repair costing $3,000-8,000. The protective barrier function of epoxy only works when the coating remains intact and properly bonded. Small bubble repairs performed promptly prevent these escalating expenses and extend your floor’s service life significantly. Whether you need minor touchups or complete restoration, exploring your options with experienced epoxy coating professionals helps you make informed decisions about protecting your investment in your Woodland Hills property.
❓ Frequently Asked Questions
Why do bubbles keep appearing in my epoxy garage floor weeks after installation in Woodland Hills?
Continuing bubble formation typically indicates ongoing moisture vapor transmission from the concrete slab beneath your coating. In Woodland Hills's climate, temperature fluctuations cause trapped moisture to vaporize and push through the epoxy. This suggests the concrete wasn't adequately dried before installation or lacks proper moisture barrier treatment. Professional moisture testing and mitigation are usually required to stop recurrence.
Can I sand down small bubbles in my epoxy floor without recoating the entire garage?
Yes, minor surface bubbles smaller than a dime can be successfully sanded with 220-grit sandpaper and spot-recoated with matching epoxy topcoat. This works best for cosmetic bubbles that haven't compromised adhesion. Larger bubbles or those indicating delamination require cutting out the damaged section and patching with fresh epoxy to restore structural integrity.
How much does professional epoxy bubble repair typically cost in Woodland Hills?
Professional repair of minor bubble damage in a standard two-car garage runs $200-400 in Woodland Hills, covering materials and labor for patching 10-15 problem areas. Extensive repairs requiring removal and reinstallation cost $2,500-5,000 for 400-500 square feet. Five Star Epoxy & Coatings at (818) 355-3804 provides free assessments to determine the most cost-effective repair approach for your specific situation.
What temperature conditions prevent bubbles when applying epoxy flooring in Southern California?
Concrete surface temperatures should remain between 55°F and 85°F during application and curing, with stable conditions for 24 hours post-installation. In Woodland Hills, morning applications between 7-10 AM offer optimal stability before afternoon heat creates temperature swings. Avoid applying epoxy when forecasts predict temperature fluctuations exceeding 20°F during the cure window, as rapid temperature changes cause the concrete to outgas and create bubbles.