Epoxy Pros vs. DIY Epoxy Kits: Which Is Worth It for Your Garage?
Deciding between epoxy pros and a DIY kit for your garage floor? This guide breaks down real costs, durability, prep requirements, and what each option actually delivers.
What Do Epoxy Pros Actually Do Differently?
Epoxy pros use commercial-grade, two-part epoxy systems with solids content of 90 to 100%, compared to the 40 to 50% solids found in most big-box DIY kits. That difference in material density is the single biggest reason professional garage floor coatings outlast DIY results by years. A higher solids content means the cured film is thicker, denser, and far more resistant to hot-tire pickup, oil stains, and daily abrasion.
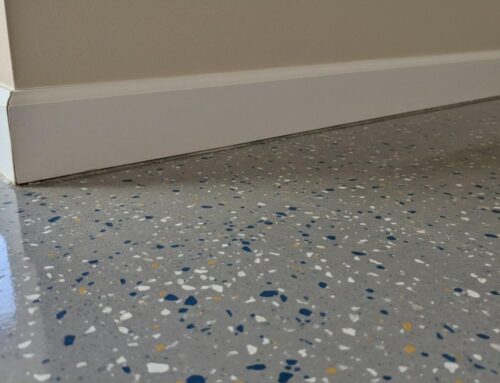
Professional epoxy floor coating also involves a full system — typically a penetrating primer or epoxy base coat, a broadcast layer of decorative chips or quartz, and one or two clear topcoats. DIY kits usually skip the primer and topcoat steps, leaving a thinner layer that bonds less aggressively to the concrete slab.
Beyond materials, epoxy pros bring diamond-grinding equipment, moisture meters, and surface-profile gauges that simply are not available in a hardware store kit. These tools let them verify the slab is ready before a single drop of coating goes down.
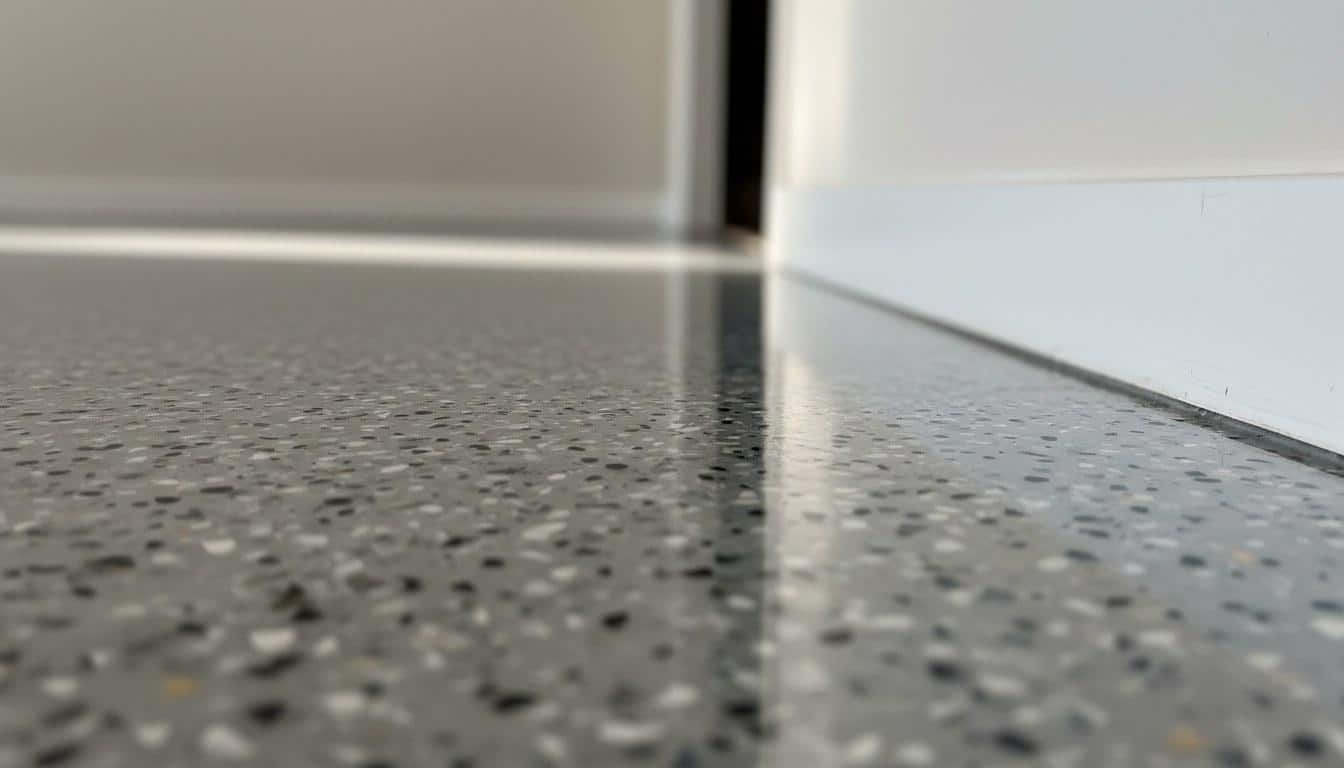
How Do DIY Epoxy Kits Compare to Professional Epoxy Coating?
DIY garage floor epoxy kits cost less upfront — typically $50 to $200 for a two-car garage — but they use thinner, water-based formulas that bond poorly to concrete that has not been mechanically profiled. Professional epoxy floor coatings cost more but use materials and methods that produce a finish lasting 10 to 20 years under normal use.
The table below compares the two options across the factors that matter most to homeowners.
| Factor | DIY Epoxy Kit | Professional Epoxy Coating (Five Star Epoxy & Coatings) |
|---|---|---|
| Epoxy solids content | 40–50% | 90–100% (commercial-grade) |
| Typical film thickness | 2–4 mils | 8–20+ mils (multi-coat system) |
| Expected lifespan | 1–3 years before peeling or flaking | 10–20 years with normal use |
| Concrete prep method | Acid etch (included in kit) | Diamond grinding or shot blasting |
| Hot-tire resistance | Low — common failure point | High — designed for vehicle traffic |
| Moisture testing | Not included | Performed before coating begins |
| Decorative options | Limited color chips | Full flake, quartz, metallic, solid-color systems |
| Upfront material cost (2-car garage) | $50–$200 | Varies by system — request a custom quote |
| Total cost over 10 years (with re-coating) | Often higher than professional install | One-time investment, no re-coating needed |
Our team has stripped and re-coated floors where DIY kits failed in under 18 months — almost always because the acid-etch prep in the kit did not open the concrete pores enough for proper adhesion. Mechanical grinding, by contrast, creates a consistent surface profile that epoxy can grip at a microscopic level.
What Does a Professional Garage Floor Epoxy Job Cost?
In the Southern California market, professional epoxy garage floor coating typically ranges from $3 to $12 per square foot, depending on the coating system chosen, the condition of the existing slab, and the square footage involved. A standard two-car garage runs roughly 400 to 500 square feet, putting most projects in the $1,200 to $6,000 range before any slab repairs.
A standard two-car garage runs roughly 400 to 500 square feet, putting most professional epoxy projects in the $1,200 to $6,000 range before any slab repairs.
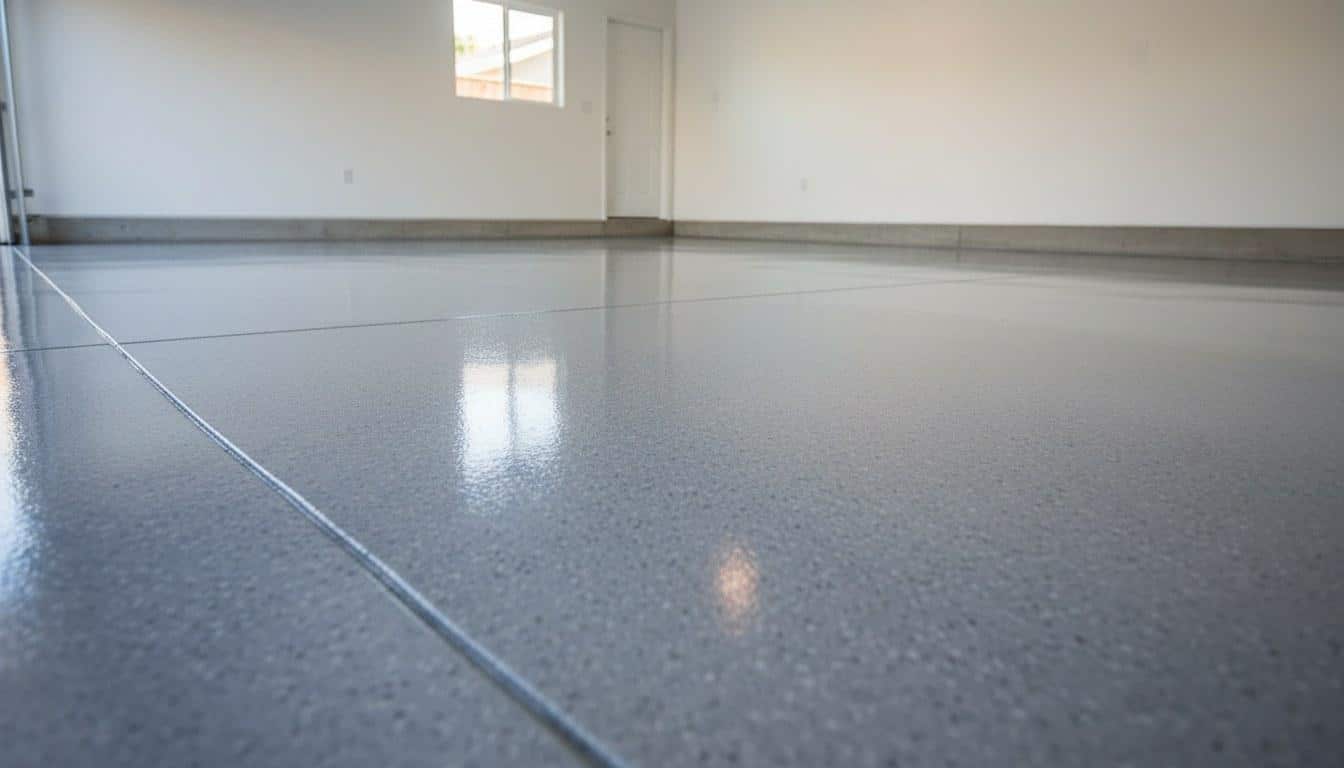
Several factors move that number up or down:
- Coating system: A single-color epoxy base with a clear topcoat costs less than a full decorative flake or metallic epoxy floor system, which requires more material and labor time.
- Slab condition: Cracks, spalling, or previous coatings that need removal add prep time and cost. Grinding off an old garage floor paint layer, for example, can add $0.50 to $1.50 per square foot.
- Topcoat choice: A polyaspartic topcoat — which cures faster and resists UV yellowing better than standard epoxy — typically adds to the per-square-foot price but extends the life of the floor.
- Square footage: Larger garages (three-car or workshop spaces) often see a lower per-square-foot rate due to economies of scale.
- Moisture mitigation: Slabs with high moisture vapor emission may need a specialized primer, which adds cost but prevents future delamination.
By comparison, a DIY kit may cost $50 to $200 in materials, but factor in rental equipment, a second kit if the first fails, and the labor of stripping a failed coating before a professional re-do — and the total cost of the DIY path often exceeds the professional option over a 5-year window.
For an accurate number on your specific garage, contact Five Star Epoxy & Coatings at (818) 355-3804 for a custom quote.
Why Does Concrete Prep Make or Break an Epoxy Garage Floor?
Concrete preparation is the single most important step in any epoxy garage floor project. Even the highest-quality epoxy coating will peel, bubble, or delaminate within months if the slab surface has not been properly profiled, cleaned, and dried. The Air Conditioning Contractors of America — and more relevantly, concrete coating industry standards — consistently identify poor surface prep as the leading cause of coating failures.
Here is what proper prep actually involves, in order:
- Test for moisture: Concrete slabs release moisture vapor from below. A moisture meter or plastic-sheet test (taped flat for 24 hours) reveals whether the slab needs a vapor-barrier primer. The EPA’s indoor moisture guidance notes that unmanaged slab moisture is a leading cause of flooring failures of all types.
- Mechanical grinding or shot blasting: Diamond grinders open the concrete pores to a Concrete Surface Profile (CSP) of 2 to 3, which is the range epoxy needs to bond permanently. Acid etching — the method in most DIY kits — rarely achieves a consistent CSP and leaves residue that interferes with adhesion.
- Crack and spall repair: Any cracks wider than a hairline should be filled with a semi-rigid epoxy filler before coating. Skipping this step telegraphs cracks through the finished surface within one to two years.
- Vacuuming and degreasing: Oil contamination from vehicle drips must be removed with a degreaser and then ground away. Epoxy will not bond over oil even if the surface looks clean.
- Final moisture check: After grinding, pros re-test moisture levels before applying the primer coat. This step is almost never done in a DIY project.
Across our service calls in Southern California, we see delamination traced to skipped moisture testing in roughly 7 out of 10 failed DIY epoxy floors — a pattern that holds whether the slab is new construction or 30 years old.
Across our service calls in Southern California, we see delamination traced to skipped moisture testing in roughly 7 out of 10 failed DIY epoxy floors.
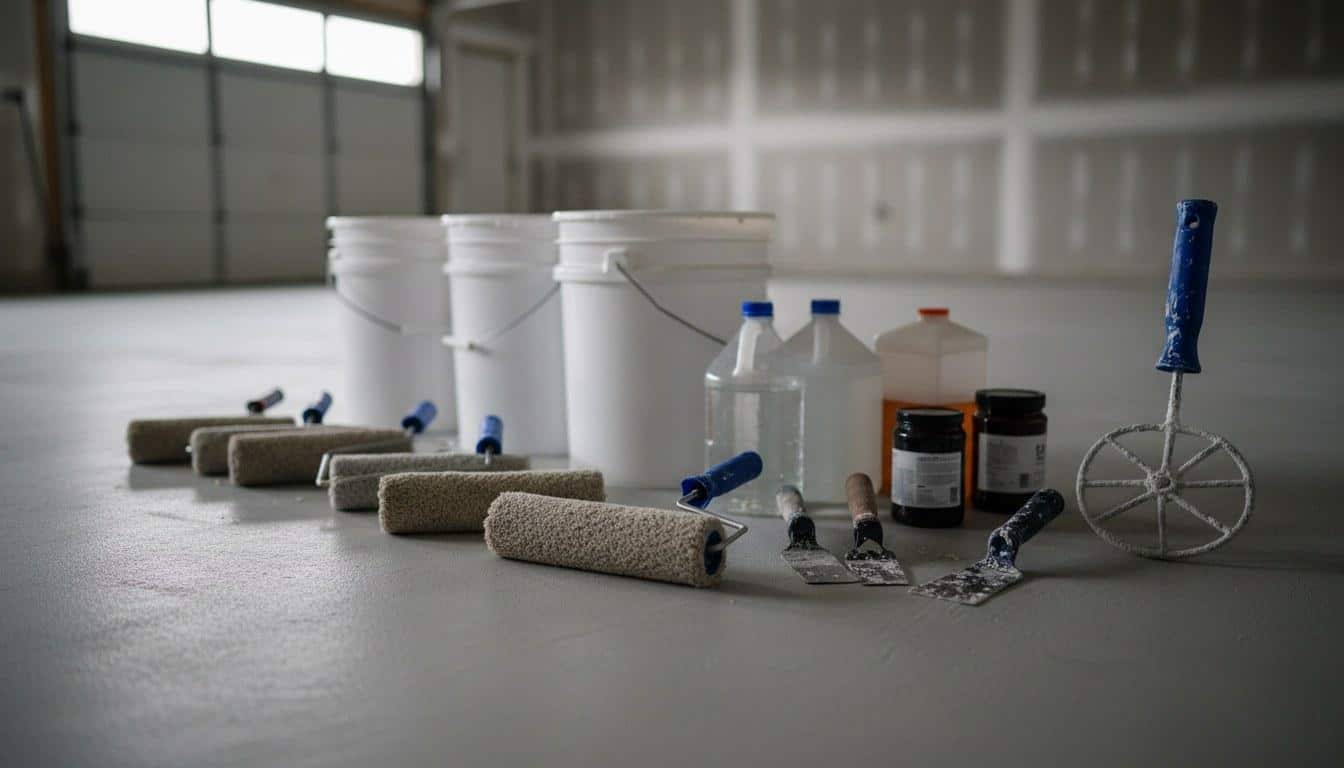
How Long Does It Take to Epoxy a Garage Floor — Pro vs. DIY?
A professional epoxy garage floor coating on a standard two-car garage typically takes 1 to 2 days of active work, followed by a 24-hour light-foot-traffic cure and a full 72-hour vehicle cure before you can park on it. A DIY project on the same space usually takes a full weekend and still requires the same cure times.
The timeline difference is mostly in prep. Professional diamond grinders cover 400 square feet in 2 to 3 hours. A homeowner with a rented floor grinder — assuming they can find one available — typically needs 6 to 8 hours to achieve the same result, and often with less consistent surface profile.
Cure times depend on the specific product used:
- Standard epoxy base coat: Tack-free in 8 to 12 hours; full chemical cure in 5 to 7 days. Vehicle traffic is typically safe at 72 hours.
- Polyaspartic topcoat: Cures in as little as 1 to 4 hours, allowing same-day return to service in some cases — a major advantage for homeowners who cannot leave the garage empty for multiple days.
- DIY water-based kits: Often list a 24-hour cure, but these products are not fully cured at that point. Parking a hot vehicle on an under-cured DIY coating is one of the most common causes of tire-mark staining and delamination.
California’s climate — particularly the warm, dry conditions across much of the state — generally favors epoxy application. However, coastal areas with high humidity or morning marine layer can slow cure times and raise the risk of blushing (a milky, hazy surface caused by moisture reacting with uncured epoxy). Epoxy pros monitor ambient temperature and relative humidity before and during application; most DIY kits do not include guidance on this.
What Are the Most Common DIY Epoxy Mistakes to Avoid?
The five most common DIY garage floor epoxy mistakes all come back to skipping steps that feel optional but are actually essential. Understanding them helps you decide whether a DIY approach is realistic for your situation — or whether calling epoxy pros is the smarter move from the start.
- Skipping mechanical prep: Acid etching alone does not open concrete pores enough for a lasting bond. Diamond grinding is the professional standard and produces a surface epoxy can grip for decades.
- Ignoring moisture: Applying any epoxy floor coating over a slab with high moisture vapor emission guarantees bubbling and peeling, often within 90 days. Always test first.
- Mixing ratios off: Two-part epoxy has a precise resin-to-hardener ratio. Even a 5 to 10% error in measuring can leave the coating soft, tacky, or unable to cure fully.
- Applying in wrong temperatures: Most epoxy products require ambient temperatures between 50°F and 90°F during application and cure. Applying on a cold morning or a very hot afternoon affects the pot life and the final bond.
- Skipping the topcoat: Epoxy alone is porous and will stain over time. A polyurethane or polyaspartic clear topcoat seals the surface and is what gives professional epoxy floors their glossy, easy-clean finish.
- Coating over existing paint or sealer: Many garage slabs have been treated with a penetrating sealer or old garage floor paint. Epoxy will not bond to these surfaces. They must be fully removed by grinding before any new coating is applied.
As of 2024, ENERGY STAR and the U.S. Department of Energy both emphasize building envelope durability as a component of home energy performance — and a well-sealed, properly coated garage floor contributes to that by reducing dust infiltration and simplifying temperature management in attached garages.
Ready for a Garage Floor That Lasts? Get a Quote from Five Star Epoxy & Coatings
If you want a garage floor epoxy coating that holds up to daily vehicle traffic, hot tires, oil spills, and California’s temperature swings — without peeling in two years — a professional installation is the right call. Five Star Epoxy & Coatings serves homeowners across Southern California with commercial-grade epoxy floor systems, full concrete prep, and decorative options that no DIY kit can replicate.
Call (818) 355-3804 to schedule your free on-site assessment and get a written custom quote. Our team is licensed by the California Contractors State License Board (CSLB), and every project starts with a thorough concrete evaluation before any coating is applied.
Get a quote that covers your exact square footage, slab condition, and finish preference — so you know the full scope before work begins. Reach out today and protect your garage floor for the next decade and beyond.
Frequently Asked Questions
How do I prep my garage floor before applying epoxy?
Start by testing for moisture — tape a plastic sheet flat to the slab for 24 hours and check for condensation underneath. Then mechanically grind or shot-blast the surface to open the concrete pores; acid etching alone is rarely enough for a lasting bond. Remove any oil stains with a degreaser, repair cracks with an epoxy filler, and vacuum thoroughly before applying any primer or base coat.
Why should I epoxy my garage floor instead of leaving it bare concrete?
An epoxy garage floor coating seals the concrete against oil, chemicals, and moisture, making spills easy to wipe up instead of soaking in permanently. It also resists dusting — bare concrete sheds fine particles that coat everything in your garage over time. A quality epoxy floor coating adds visual appeal and can increase the perceived value of the space.
How long does it take to epoxy a garage floor from start to finish?
A professional epoxy installation on a standard two-car garage typically takes one to two days of active work. After the final coat, you can walk on the floor in about 24 hours and park vehicles on it after 72 hours. Full chemical cure — where the floor reaches maximum hardness — takes five to seven days.
How do I know if my garage floor is ready for epoxy?
Pour a small amount of water on the slab — if it beads up, the concrete has a sealer or contamination that must be removed before epoxy will bond. The slab should also pass a moisture test, have no active cracks wider than a hairline, and be free of oil stains. If you are unsure, a professional assessment will identify any issues before coating begins.
Is professional epoxy garage floor coating worth the cost compared to a DIY kit?
For most homeowners, yes. Professional epoxy floor coatings use 90 to 100% solids material versus the 40 to 50% solids in typical DIY kits, and they last 10 to 20 years compared to one to three years for most DIY results. When you factor in the cost of stripping a failed DIY coating and re-doing the floor, the professional option often costs less over a five-year period.