DIY Epoxy Floor Kits vs. Professional Installation: An Honest Cost and Quality Comparison
A DIY epoxy floor kit costs less upfront, but professional installation almost always delivers a stronger, longer-lasting finish. This guide breaks down the real cost and quality differences so you can make the right call for your garage or concrete floor.
What Is the Real Difference Between a DIY Epoxy Kit and Professional Installation?
DIY epoxy floor kits sold at home improvement stores use water-based epoxy with a solids content of roughly 30 to 50 percent. Professional installers apply 100-percent-solids or high-solids solvent-based epoxy systems that bond harder, resist chemicals better, and last significantly longer. The product chemistry is fundamentally different, not just the person applying it.
A big-box kit typically includes a pre-measured two-part epoxy, a bag of decorative chips, and a roller. It is designed to be simple, but that simplicity comes with trade-offs in durability and adhesion. Professional-grade systems require specialized mixing ratios, controlled application temperatures, and multi-step surface preparation that most homeowners cannot replicate with rented equipment.
The coating thickness also differs sharply. Consumer kits usually deposit 2 to 4 mils of dry film. A professional multi-coat system, including a primer, base coat, chip or flake broadcast layer, and clear topcoat, commonly reaches 15 to 25 mils. That extra thickness is a major reason professional floors resist impact, abrasion, and hot tire pickup far better than DIY coatings.
How Do the Costs Actually Compare?
In the regional market, a DIY epoxy floor kit for a standard two-car garage (roughly 400 to 500 square feet) typically costs $100 to $300 in materials. Professional installation for the same space generally ranges from $1,500 to $4,000 depending on surface condition, coating system, and finish type. That gap looks large at first, but the lifetime cost picture is more nuanced.
DIY kits carry hidden costs that are easy to overlook when budgeting. You will need to rent a floor grinder or acid-wash the concrete yourself, buy concrete patch compound for cracks, and purchase safety equipment. Those extras can add $150 to $400 to a DIY project before you ever open the epoxy can.
Professional quotes typically include surface grinding, crack repair, primer, base coat, decorative chip or flake broadcast, and a clear polyaspartic or urethane topcoat. Some contractors also warranty their work for 5 to 10 years, a guarantee no consumer kit can offer. When you factor in the cost of stripping and recoating a failed DIY floor, which can run $300 to $800 in materials alone, the lifetime cost difference narrows considerably.
When you factor in the cost of stripping and recoating a failed DIY floor, which can run $300 to $800 in materials alone, the lifetime cost difference between DIY and professional installation narrows considerably.
| Cost Factor | DIY Epoxy Kit | Professional Installation |
|---|---|---|
| Materials (400-500 sq ft) | $100 to $300 | Included in project price |
| Surface prep equipment | $150 to $400 (rental + supplies) | Included |
| Labor | Your time (6 to 12 hours) | Included |
| Total upfront (typical range) | $250 to $700 | $1,500 to $4,000 |
| Expected lifespan | 2 to 5 years | 10 to 20+ years |
| Warranty | None | Typically 5 to 10 years |
| Recoating cost if it fails | $300 to $800+ (your cost) | Covered under warranty |
For a custom quote on your specific project, call Five Star Epoxy & Coatings at (818) 355-3804 to discuss your floor’s square footage, condition, and finish goals.
What Are the Biggest Quality Differences You Will See Over Time?
The most visible quality gap between DIY and professional epoxy floors appears within the first 12 to 24 months. Hot tire pickup, peeling at the edges, and bubbling from moisture vapor are the three most common failure modes in DIY-applied coatings. Professional systems are engineered specifically to resist all three.
Hot tire pickup happens when a warm tire bonds to a coating that has not fully cured or lacks adequate hardness. Consumer epoxy resins often have a Shore D hardness below 60. Professional polyaspartic and urethane topcoats routinely exceed Shore D 70, which is why they resist tire marks and surface scratching far better.
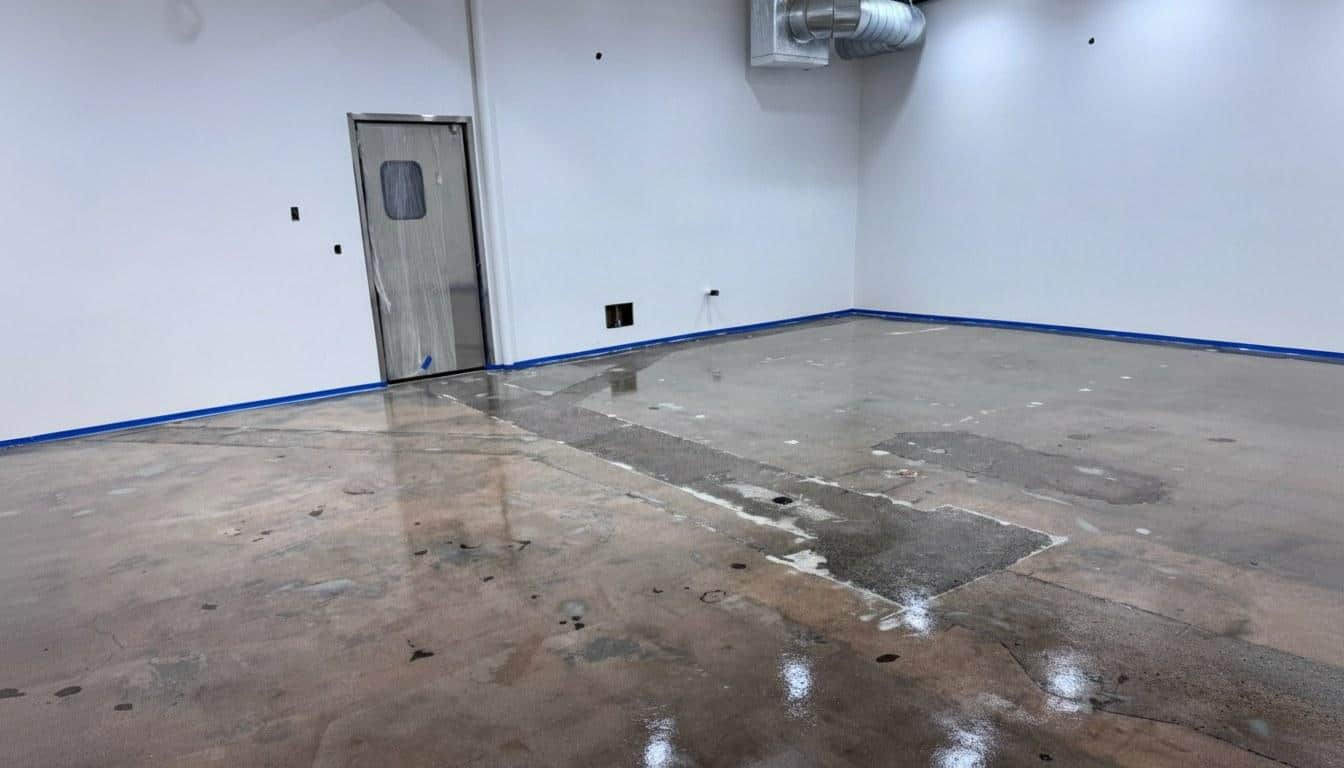
Moisture vapor transmission is a major issue in California’s climate, where concrete slabs can hold residual moisture from seasonal rains or irrigation. Our team tests moisture vapor emission rates on nearly every slab we prep, and we find readings above 3 pounds per 1,000 square feet per 24 hours on roughly 40 percent of residential garage floors, a level that causes most consumer epoxy kits to delaminate within one to two years without a vapor-blocking primer.
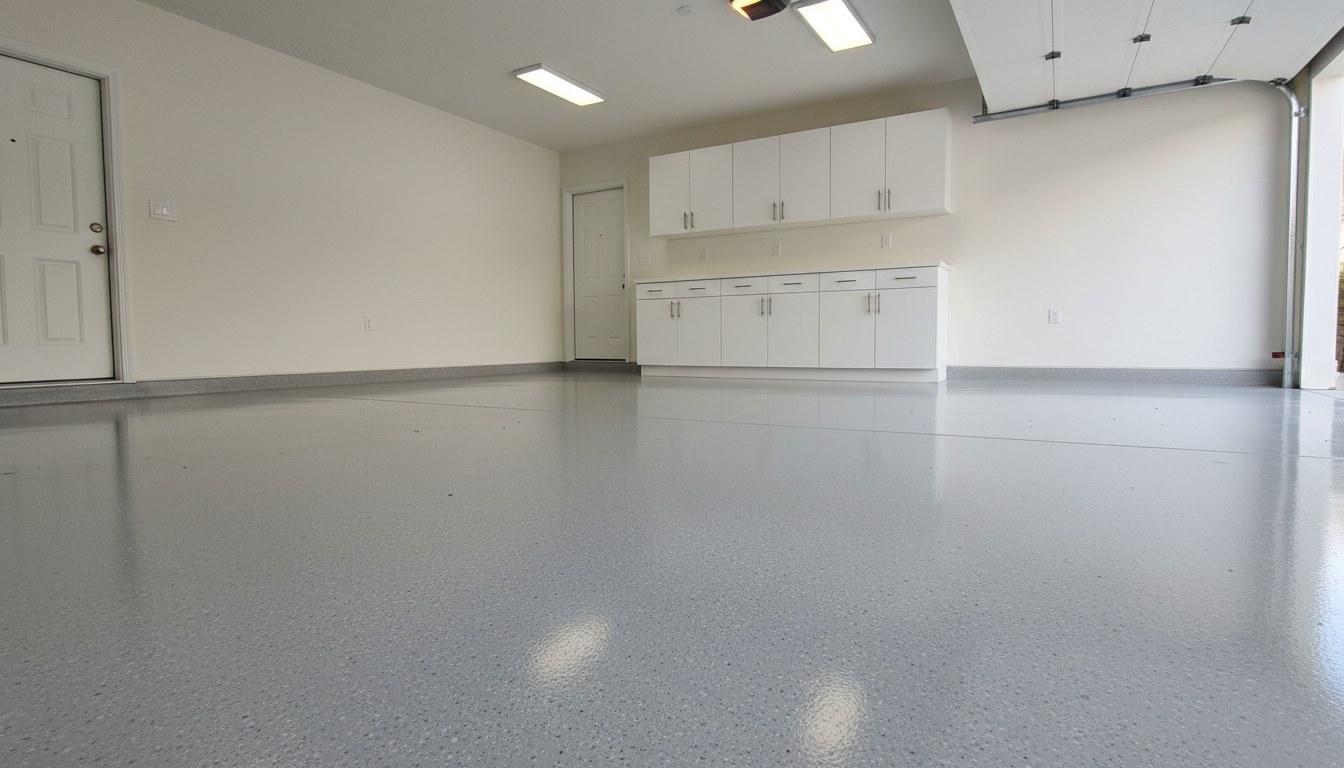
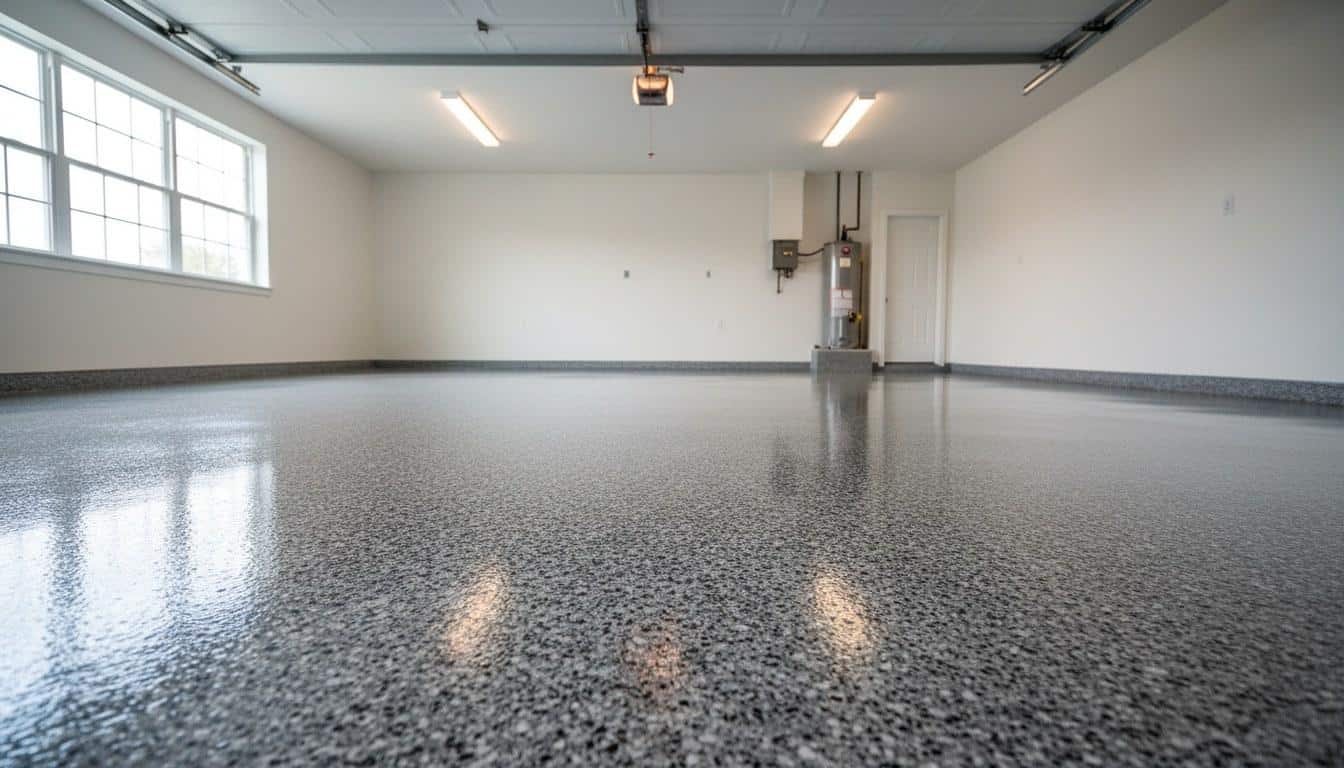
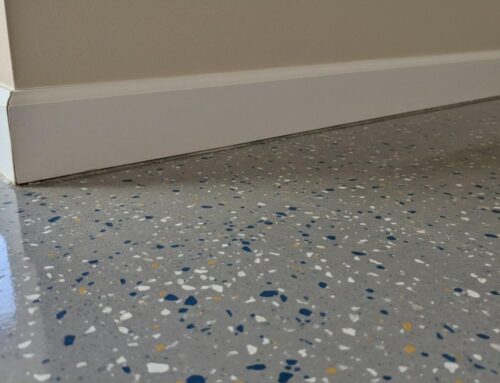
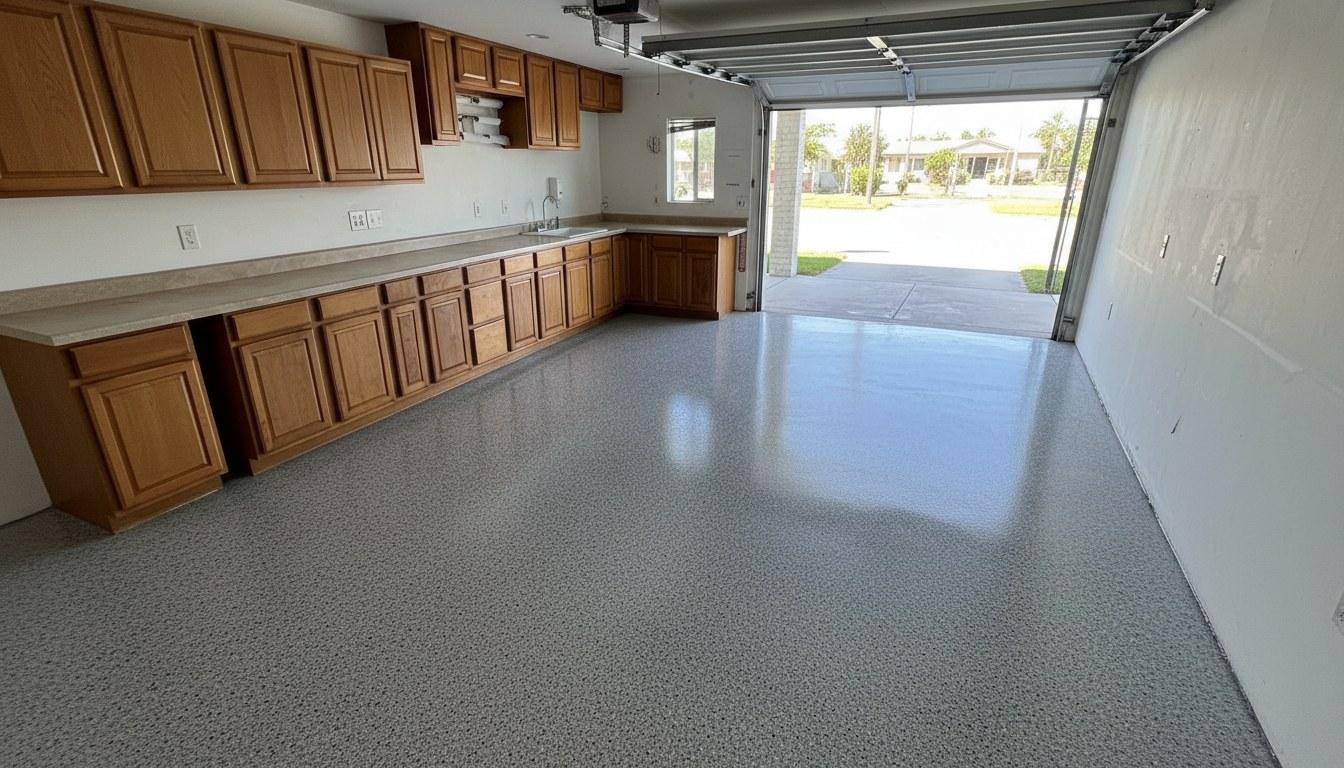
Decorative options also differ. Professional chip and flake epoxy flooring systems allow full broadcast coverage, meaning the entire floor surface is covered in colored flakes before the clear coat goes down. Consumer kits typically include a partial broadcast that leaves visible base coat between flakes, a look that fades and looks worn much faster.
DIY Epoxy Floor Kit vs Professional Installation: Which One Is Right for Your Project?
A DIY epoxy floor kit is a reasonable choice for low-traffic areas like a storage room, workshop corner, or utility space where appearance matters more than durability. For garages, commercial spaces, or any floor that takes daily vehicle or foot traffic, professional installation delivers far better value over a 5- to 10-year horizon.
Ask yourself these questions before deciding:
- Traffic level: Does the floor see vehicles, forklifts, rolling carts, or heavy foot traffic daily? If yes, professional-grade coatings are the right call.
- Concrete condition: Are there cracks wider than a hairline, oil stains, or previous coatings? These require professional-grade prep that consumer tools cannot achieve.
- Moisture: Is the slab on grade or below grade? Slabs in contact with soil are at high risk for vapor-driven delamination with consumer kits.
- Finish goals: Do you want a seamless, full-broadcast chip and flake epoxy flooring look with a glossy clear coat? That finish requires professional equipment and technique.
- Time available: A proper DIY job takes two to three full days including prep, application, and cure time. Professional crews typically complete a garage in one day.
- Budget horizon: If you plan to stay in your home for 5 or more years, professional installation almost always costs less per year of service life.
The diy epoxy floor kit vs professional installation decision ultimately comes down to how long you need the floor to perform and how much disruption you can tolerate if it fails.
What Are the Most Common DIY Epoxy Mistakes and How Do Pros Avoid Them?
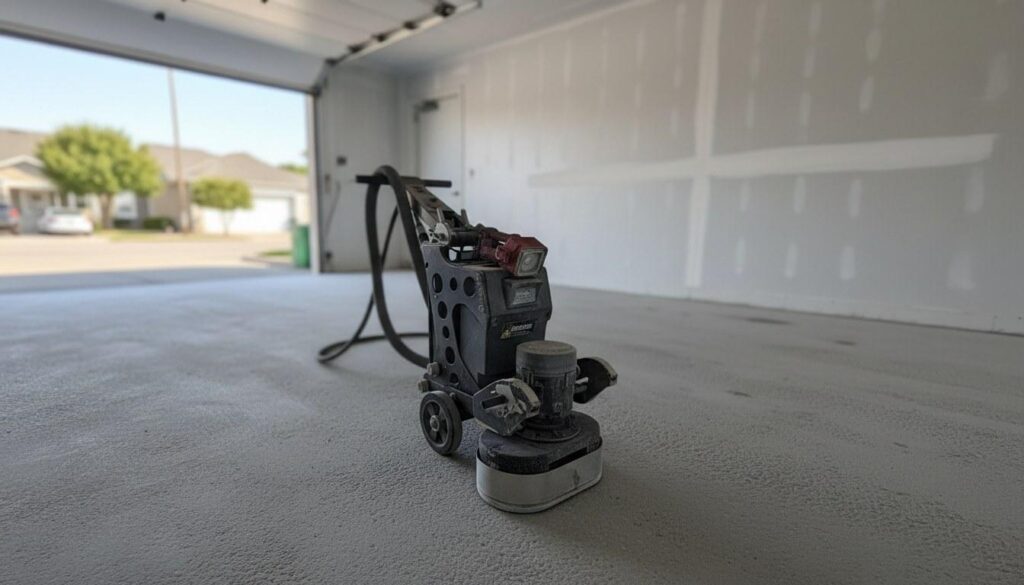
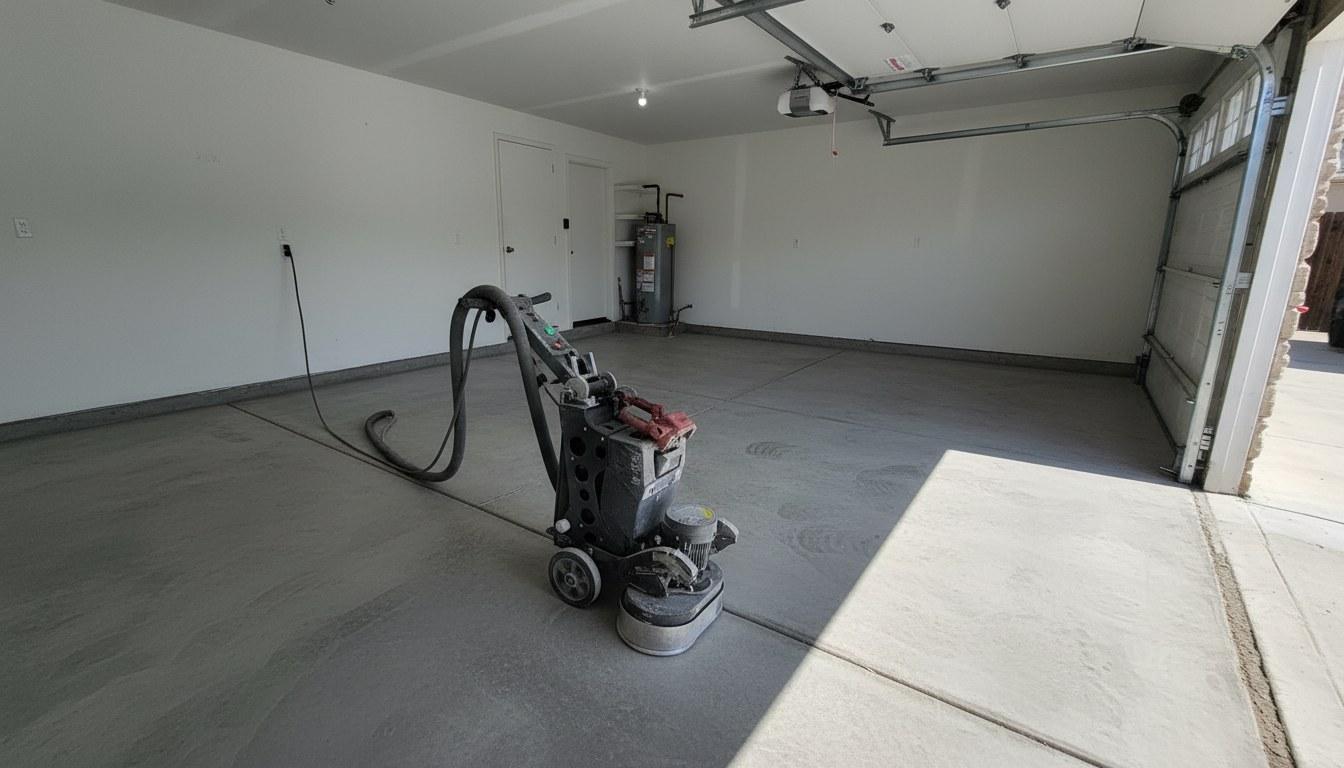
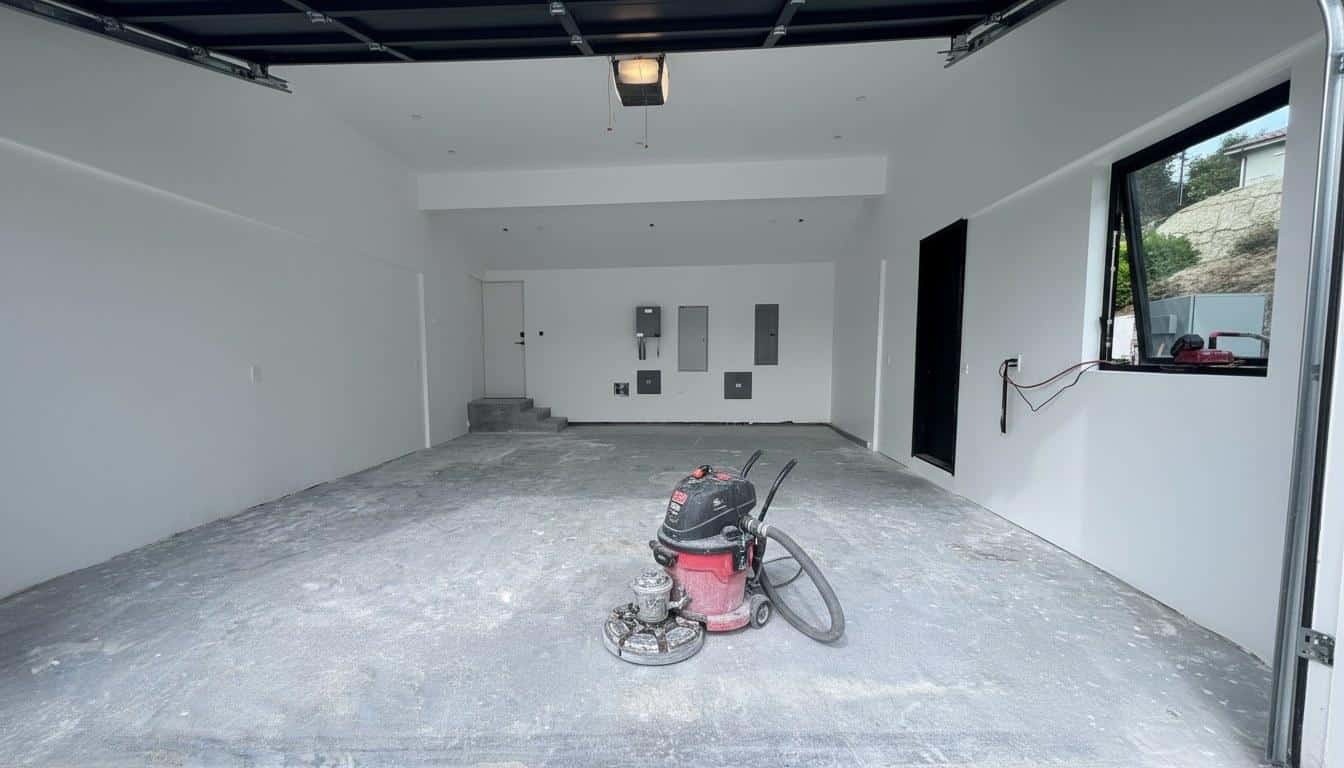
The single most common DIY epoxy mistake is inadequate surface preparation. Skipping diamond grinding and applying epoxy over a dusty, contaminated, or sealed concrete surface is the leading cause of peeling floors. Professionals use industrial diamond grinders to open the concrete’s pores and create a mechanical profile that gives the epoxy something to grip.
Here are the most frequent DIY failures and how professional concrete epoxy contractors prevent them:
- Skipping moisture testing: Applying epoxy over a damp slab causes bubbling and delamination. Pros use a ASTM-standard calcium chloride or relative humidity test before any coating goes down.
- Wrong temperature during application: Epoxy applied below 50 degrees Fahrenheit or above 90 degrees Fahrenheit cures improperly. Professional crews monitor ambient and slab temperature throughout the job.
- Incorrect mixing ratios: Consumer kits use pre-measured packets, but errors still happen. Off-ratio epoxy stays tacky, never fully hardens, and must be stripped entirely.
- Thin film build: Rolling epoxy too thinly leaves a film that scratches and scuffs easily. Pros use notched squeegees and back-rollers to hit target mil thickness on every pass.
- No topcoat: Many DIY kits skip a clear urethane or polyaspartic topcoat. Without it, the color coat is exposed directly to UV, abrasion, and chemicals, shortening its life by half or more.
- Applying over existing coatings: Painting over old paint or a failed epoxy layer is a recipe for delamination. Professionals grind back to bare concrete every time.
According to the U.S. Environmental Protection Agency, proper ventilation is also critical when applying solvent-based coatings indoors. Professional crews use respirators and ventilation equipment that most DIYers do not own or think to rent.
What Should You Look for When Hiring a Professional Epoxy Coating Company?
The most important credential to verify is a valid contractor’s license issued by the California Contractors State License Board (CSLB). In California, any flooring contractor performing work valued above $500 must hold a current CSLB license, and you can verify any license number for free at the CSLB website. Unlicensed work leaves you with no recourse if the coating fails or the contractor disappears.
Beyond licensing, look for these qualities when evaluating concrete floor coating contractors:
- Written scope of work: The quote should specify coating brand, solids content, number of coats, mil thickness, and surface prep method. Vague quotes lead to disputes.
- Diamond grinding, not acid washing: Acid washing is faster but leaves an uneven surface profile. Professional-grade surface prep uses mechanical diamond grinding to ICRI CSP 2 or 3 profile standards.
- Product data sheets on request: A reputable epoxy coating company will share the technical data sheet for every product they apply. If they cannot or will not, that is a warning sign.
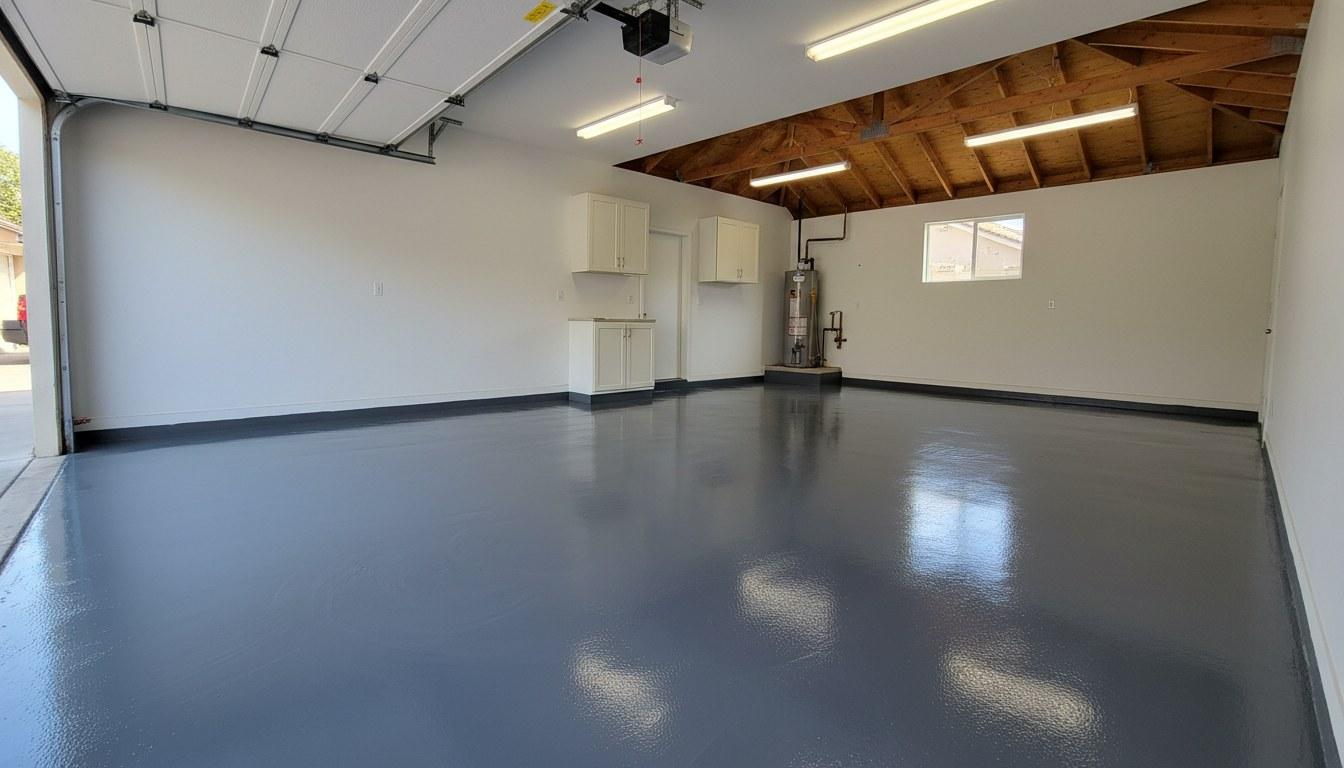
- Photos of completed jobs: Ask to see before-and-after photos of chip and flake epoxy flooring installs similar to yours in size and use case.
- Insurance: General liability and workers’ compensation coverage protect you if something goes wrong on your property.
- Warranty in writing: A verbal warranty is worth nothing. Get the coverage period, what it includes, and the exclusions in writing before work begins.
As of 2024, California’s Title 24 building energy standards do not directly regulate decorative floor coatings, but VOC content rules under the California Air Resources Board do affect which coating formulations contractors can legally apply in the state. A knowledgeable contractor will use compliant products without being asked.
Frequently Asked Questions
How much does it cost to install an epoxy garage floor professionally?
Professional epoxy garage floor installation in the Southern California market typically ranges from $1,500 to $4,000 for a standard two-car garage of 400 to 500 square feet. The final price depends on the concrete's condition, the coating system chosen (basic epoxy vs. a multi-coat chip and flake system with a polyaspartic topcoat), and any crack or stain repair needed before coating. To get an accurate number for your specific floor, request a written quote from a licensed contractor like Five Star Epoxy & Coatings at (818) 355-3804.
How long does a DIY epoxy floor kit actually last?
Most DIY epoxy floor kits last 2 to 5 years under normal garage use before peeling, chipping, or fading becomes noticeable. Consumer kits use water-based epoxy with lower solids content and thinner film builds than professional systems, which makes them more vulnerable to hot tire pickup, UV exposure, and moisture. Proper surface prep can extend a DIY kit's life, but it rarely reaches the 10 to 20-plus years that a professionally installed system can deliver.
Can I apply a professional epoxy coating myself if I buy the right materials?
You can purchase higher-solids epoxy products from specialty suppliers, but achieving professional results still requires a diamond floor grinder, moisture testing equipment, proper mixing tools, and experience reading the concrete's surface profile. Without those, even a high-quality product will underperform. Most homeowners find that renting the necessary equipment and sourcing commercial-grade materials brings the DIY cost close enough to professional pricing that the labor savings no longer justify the risk.
Why does my DIY epoxy floor keep peeling?
Peeling almost always traces back to one of three causes: inadequate surface preparation, moisture vapor pushing up through the slab, or applying the epoxy outside the recommended temperature window. Consumer kits rarely include instructions detailed enough to catch all three issues. Moisture vapor emission from the concrete slab is particularly common and requires a vapor-blocking primer that most DIY kits do not include. Stripping the floor back to bare concrete and starting over with proper prep is usually the only lasting fix.
Is epoxy flooring worth it for a garage?
Yes, professionally installed epoxy flooring is one of the highest-return upgrades for a residential garage. It protects the concrete from oil, chemicals, and abrasion, makes the space easier to clean, and improves the garage's appearance significantly. A professional chip and flake epoxy flooring system installed by licensed concrete floor coating contractors typically lasts 10 to 20 years, making the per-year cost competitive with almost any other flooring option. For a Southern California home, it also holds up well against the region's temperature swings and occasional moisture from seasonal rains.