Garage Epoxy Flooring Cost: A Complete 2026 Pricing Breakdown for California Homeowners
Garage epoxy flooring in California typically runs between $3 and $12 per square foot installed, depending on the finish type, floor condition, and garage size. This guide breaks down every cost factor so you know exactly what to budget before calling a contractor.
What Does Garage Epoxy Flooring Cost in California?
In the California market, professional garage epoxy flooring installation typically ranges from $3 to $12 per square foot, depending on the system chosen and the condition of the existing concrete. A standard two-car garage of roughly 400 to 500 square feet usually falls between $1,500 and $4,500 installed. Single-car garages on the lower end of that square footage can come in under $1,500, while large three-car garages with premium finishes can exceed $6,000.
A standard two-car garage of roughly 400 to 500 square feet usually falls between $1,500 and $4,500 installed in the California market.
These are regional market ranges, not a specific contractor’s rates. Actual pricing depends on your floor’s condition, the coating system selected, and local labor costs. The garage epoxy flooring cost california homeowners pay also reflects California’s higher material and labor overhead compared to national averages.
| Scenario | Typical Market Range (CA) | What’s Usually Included |
|---|---|---|
| Single-car garage, solid color epoxy | $800 to $1,800 | Surface prep, 2-coat epoxy system, sealer |
| Two-car garage, chip and flake epoxy | $1,800 to $3,500 | Diamond grinding, broadcast flake, polyaspartic topcoat |
| Two-car garage, metallic or artistic epoxy | $3,000 to $6,000 | Full prep, metallic pigment system, high-gloss topcoat |
| Three-car garage, chip and flake epoxy | $3,500 to $5,500 | Diamond grinding, multi-color flake, UV-stable topcoat |
| Large garage or workshop, industrial-grade epoxy | $5,000 to $9,000+ | Heavy-duty prep, thick-build coating, slip-resistant finish |
What Factors Drive the Price Up or Down?
The biggest cost variables are floor size, the condition of the existing concrete, and the coating system you choose. Labor rates in California also vary meaningfully between inland communities and coastal metro areas like Los Angeles County and Orange County.
- Garage size: Most contractors price epoxy by the square foot, so a 600-square-foot three-car garage costs more in total than a 200-square-foot single-car bay, even at the same per-foot rate.
- Concrete condition: Cracks, spalling, oil stains, and previous coatings all require extra prep work. Heavily damaged slabs can add $200 to $800 or more to a project before the first coat goes down.
- Coating system: A basic solid-color epoxy uses fewer materials and fewer coats than a chip-and-flake or metallic system. Each additional layer adds material cost and curing time.
- Number of coats and topcoat type: A polyaspartic or polyurethane topcoat adds durability and UV resistance but increases the price by $0.50 to $2 per square foot compared to a basic sealer.
- Surface preparation method: Shot blasting and diamond grinding open the concrete pores for a stronger bond. This professional prep costs more than acid etching but produces a coating that lasts significantly longer.
- Regional labor rates: Contractors in Los Angeles County and the Bay Area typically charge more per square foot than those in the Central Valley, reflecting higher operating costs across the state.
- Moisture mitigation: California’s older housing stock sometimes includes slabs with no vapor barrier. If moisture vapor transmission exceeds acceptable limits (typically above 3 lbs per 1,000 sq ft per 24 hours), a moisture-mitigation primer is required and adds cost.
Our team sees moisture issues on roughly 1 in 4 garage slabs built before 1980 in Southern California. Those projects almost always need a specialty primer coat before any decorative epoxy system goes down, which adds one to two days and meaningful cost to the timeline.
How Do Different Epoxy Finish Types Compare in Cost?
Chip and flake epoxy flooring is the most popular garage finish in California, offering a good balance of durability, slip resistance, and visual appeal at a mid-range price. Metallic and artistic epoxy finishes cost more but produce a showroom-quality result that many homeowners choose for high-end garages.
Solid Color Epoxy
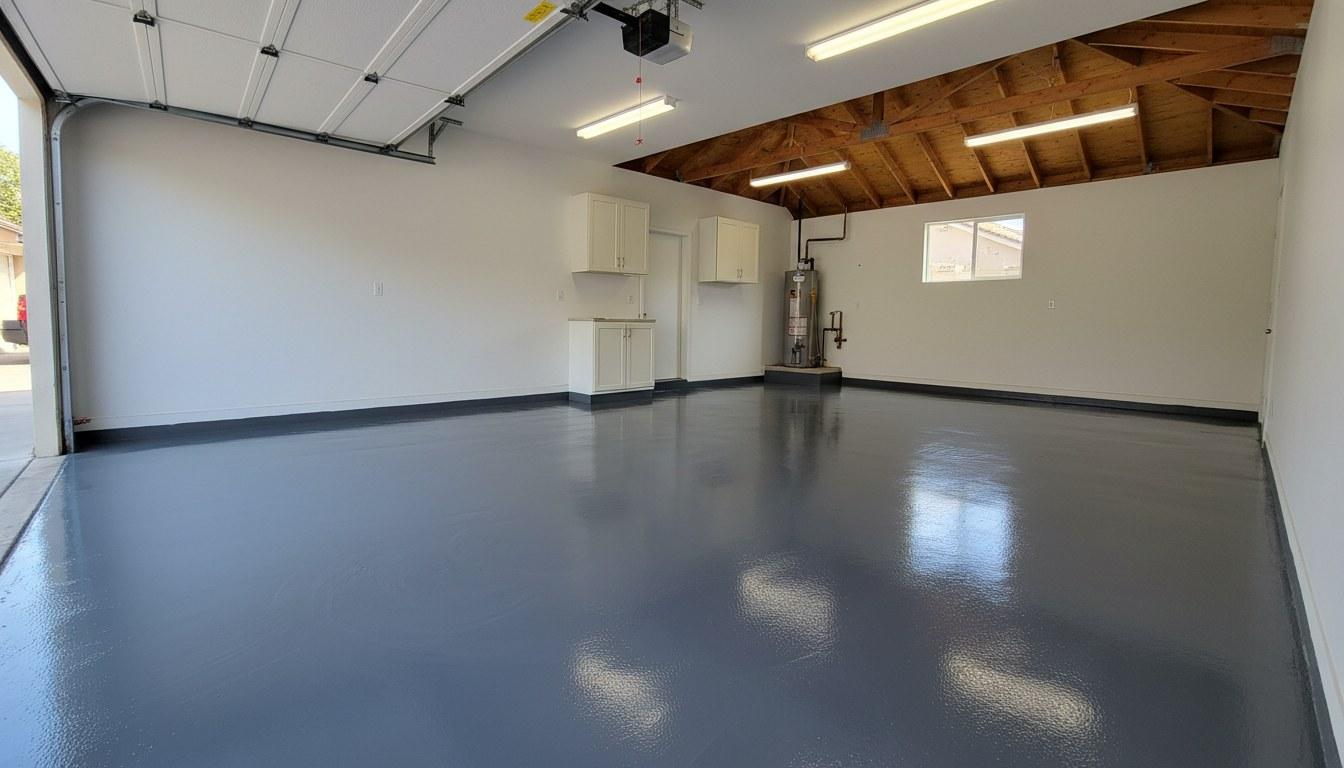
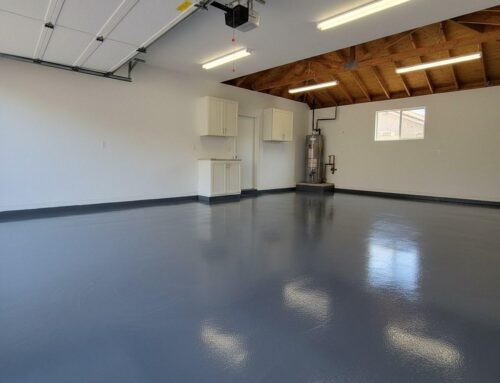
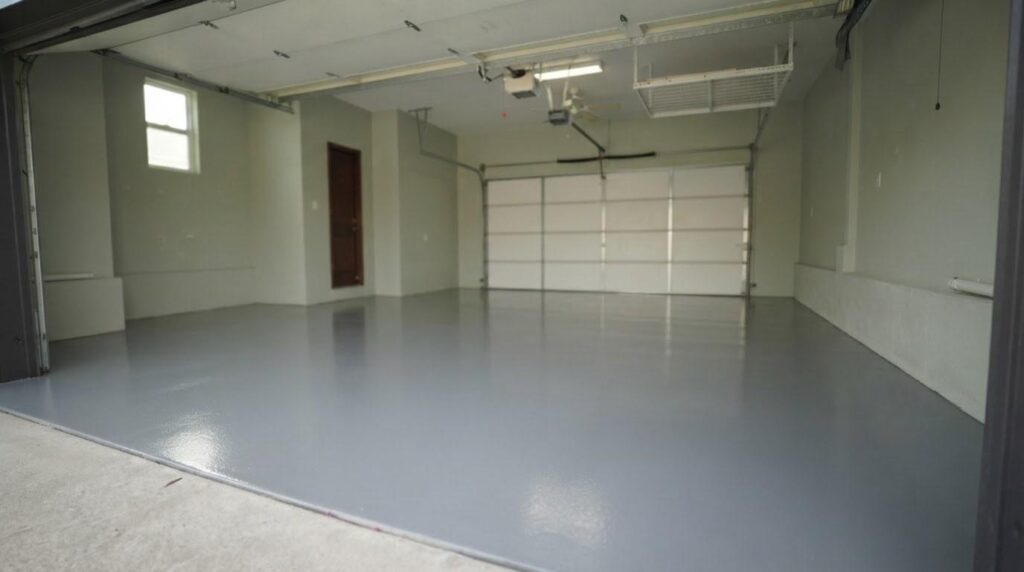
This is the most straightforward garage floor coating. It uses a pigmented epoxy base coat and a clear sealer. It typically runs $3 to $5 per square foot installed in the California market. It works well in utility garages where function matters more than aesthetics.
Chip and Flake Epoxy Flooring
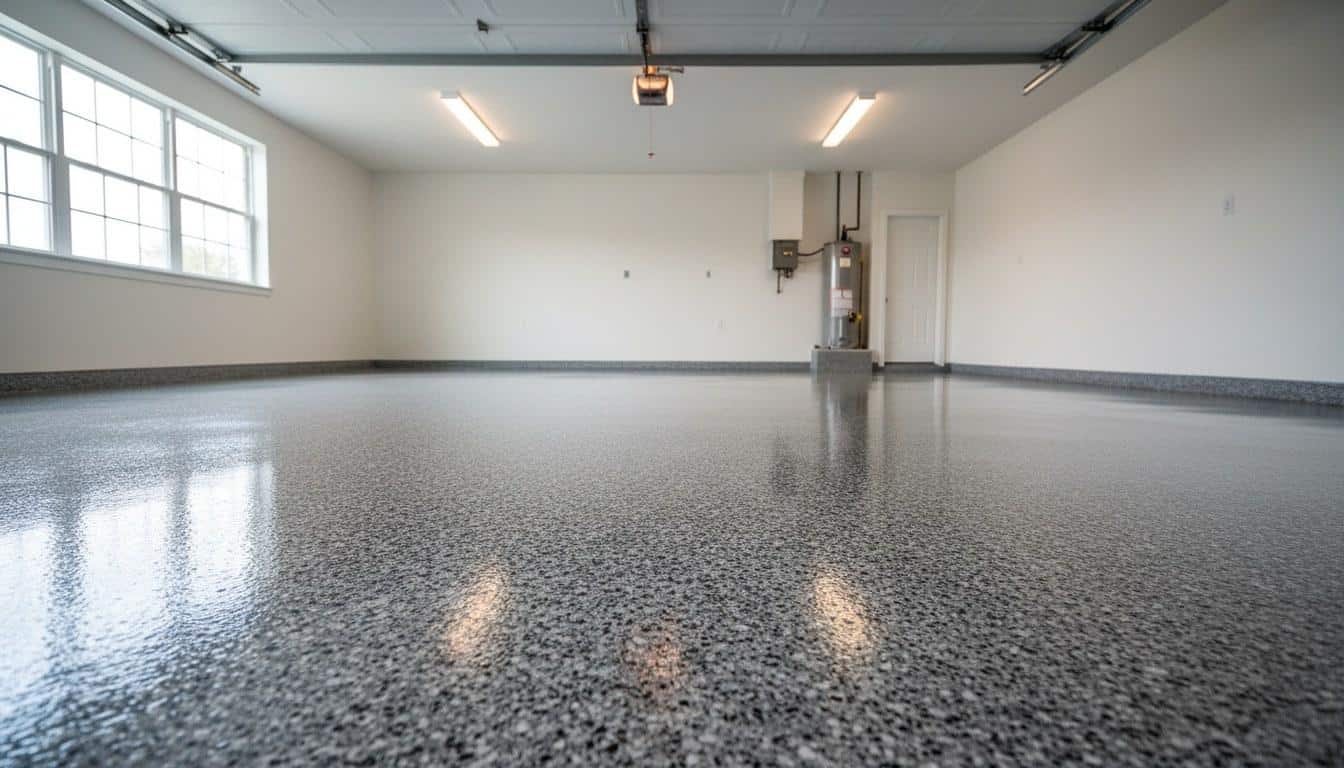
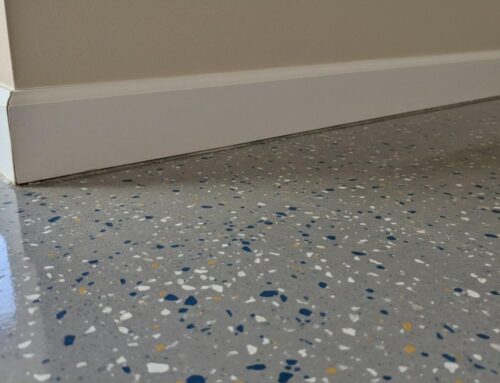
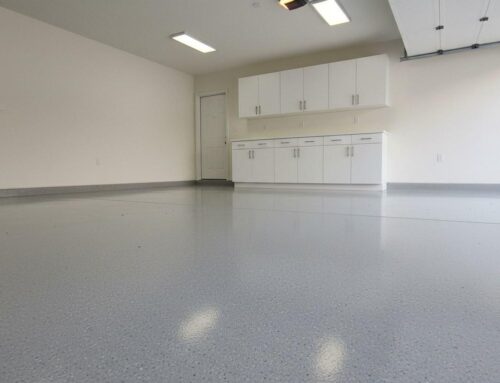
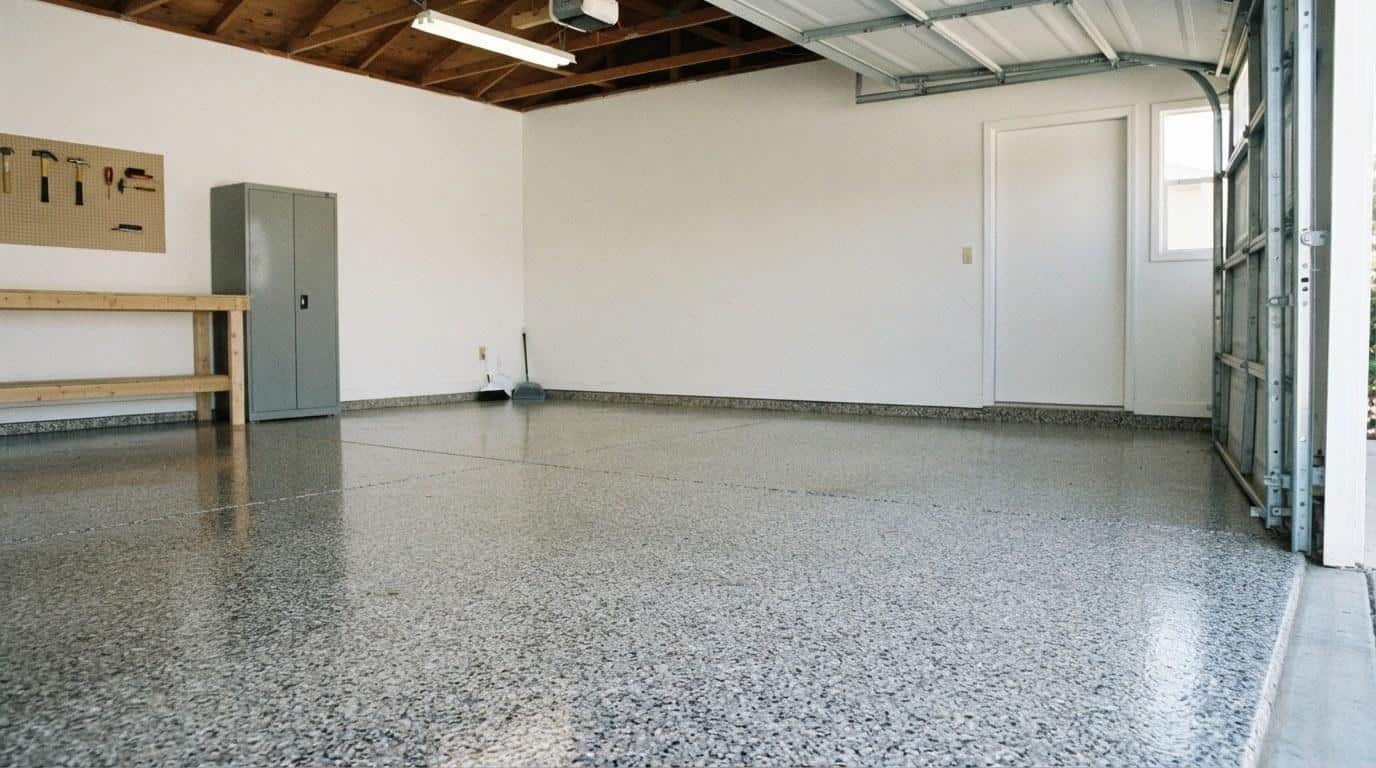
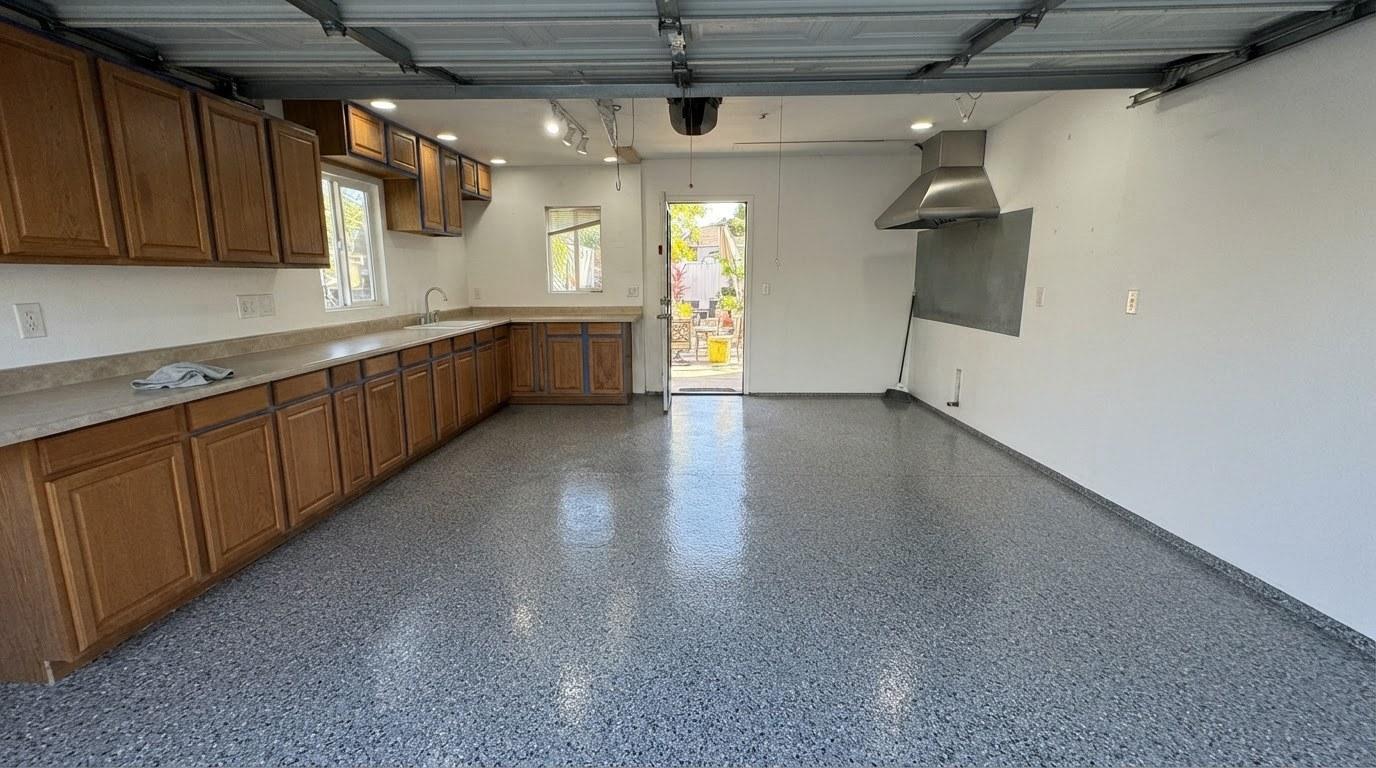
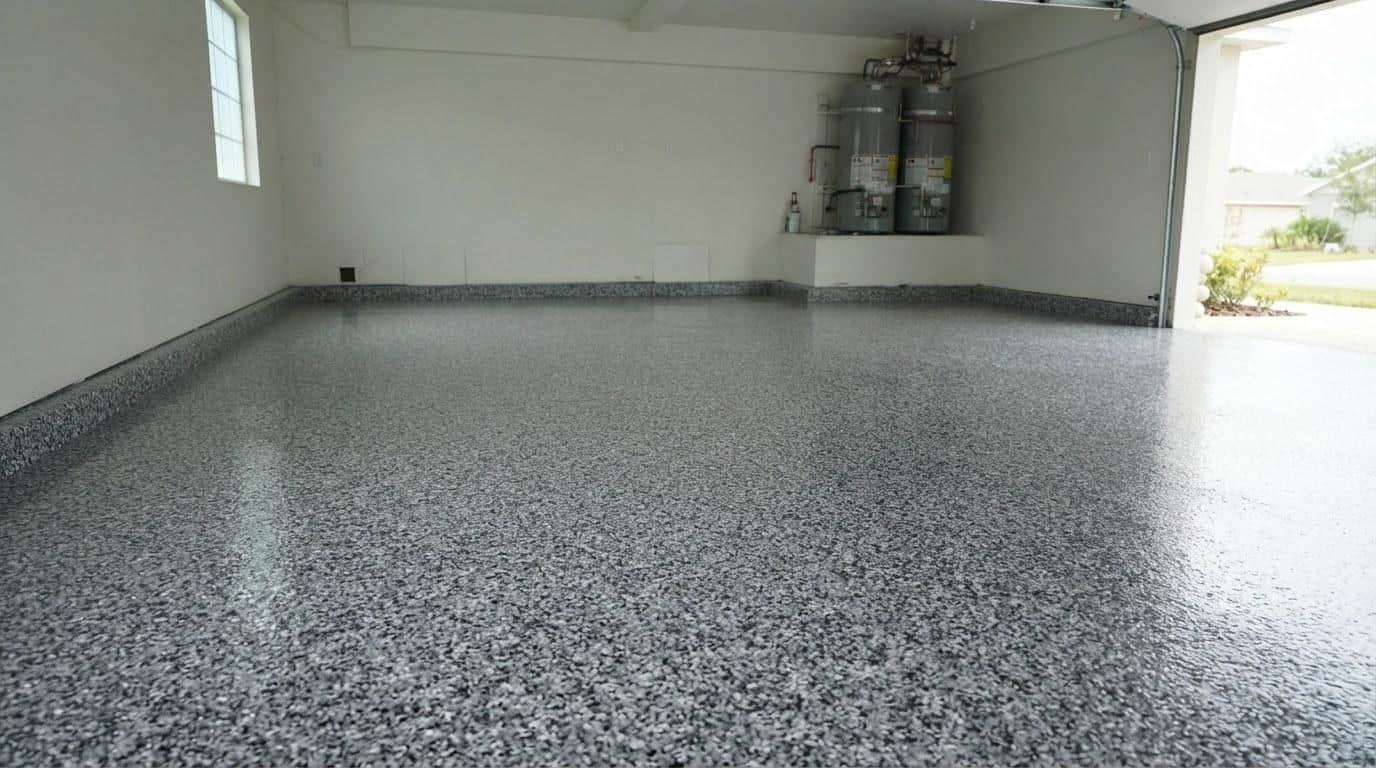
Chip and flake epoxy flooring (sometimes called broadcast flake) involves scattering colored vinyl flakes into a wet epoxy base, then sealing with a clear polyaspartic or polyurethane topcoat. The flakes hide minor imperfections, add texture for grip, and come in dozens of color blends. This system typically runs $5 to $8 per square foot installed and is the most requested finish for residential garages across communities in California.
Metallic and Artistic Epoxy Finishes
Metallic epoxy uses pigmented metallic powders to create a three-dimensional, flowing look. No two floors look identical. This system requires more skill to apply and more material per coat, pushing the cost to $8 to $12 or more per square foot in the regional market. It is a strong choice for showroom garages, hobby spaces, and high-end residential projects.
Industrial-Grade Epoxy
Workshops and commercial garages that see heavy vehicle traffic, chemical exposure, or frequent forklift use benefit from a thicker, harder epoxy build. These systems use 100% solids epoxy at higher mil thickness, typically 20 to 40 mils dry film thickness. They run at the higher end of the market range and are built for long-term performance under demanding conditions.
What Is NOT Included in Most Epoxy Floor Quotes?
Most standard garage epoxy quotes cover surface prep, the coating system, and basic cleanup. Several common add-ons fall outside that scope and can surprise homeowners when they appear on the final invoice.
- Crack and spall repair: Filling cracks wider than a hairline or patching spalled areas is often quoted separately. Expect $50 to $200 per repair area depending on size and depth.
- Oil stain removal: Deep oil contamination requires chemical degreasing and sometimes mechanical grinding beyond standard prep. This adds time and cost.
- Moisture mitigation primer: If a moisture test reveals vapor transmission above acceptable levels, a specialty primer is required before any topcoat. This is rarely included in a base quote.
- Floor drain work: Masking, protecting, or re-routing floor drains during coating adds labor time.
- Garage contents removal: Most contractors expect the floor to be clear before arrival. If the crew has to move shelving, vehicles, or equipment, that may be billed separately.
- Cove base or wall transitions: Coating the first few inches of the wall base for a seamless look is an upgrade, not a standard inclusion.
- Return trips for multi-day curing: Some complex systems require a second visit after a 24-hour cure. Confirm whether that is included in the quote or billed as a separate mobilization.
DIY Epoxy Floor vs. Professional Installation: Which Is the Better Value?
DIY epoxy kits from hardware stores typically cost $100 to $400 for a two-car garage, but the results rarely match professional-grade systems in durability or adhesion. Most DIY epoxy products use water-based formulas at low solids content, which means thinner coats, shorter lifespans, and a higher risk of peeling within two to three years.
Professional concrete epoxy contractors use commercial-grade, high-solids epoxy systems that bond more aggressively to properly prepared concrete. The surface preparation alone, done with diamond grinders or shot blasters, is something most homeowners cannot replicate with rented equipment. California’s Contractors State License Board (CSLB) licenses concrete coating contractors, and working with a licensed epoxy coating company protects homeowners if something goes wrong.
Professional concrete epoxy contractors use commercial-grade, high-solids epoxy systems that bond more aggressively to properly prepared concrete, producing floors that last 10 to 20 years or more.
| Factor | DIY Epoxy Kit | Professional Installation |
|---|---|---|
| Upfront cost (2-car garage) | $100 to $400 | $1,800 to $3,500 (market range) |
| Coating solids content | Typically 30 to 50% | Typically 70 to 100% |
| Surface prep method | Acid etch (limited bond) | Diamond grind or shot blast (strong bond) |
| Expected lifespan | 2 to 5 years before peeling | 10 to 20+ years with proper care |
| Finish options | Limited solid colors | Solid, flake, metallic, artistic |
| Moisture testing | Rarely performed | Standard part of professional prep |
The diy epoxy floor vs professional debate usually comes down to how long you want the floor to last. For a garage you plan to keep for more than five years, professional installation typically delivers a lower cost per year over the life of the coating.
How Do You Prepare a Garage Floor for Epoxy?
Proper concrete preparation is the single most important step in any epoxy garage floor project. Epoxy applied to a poorly prepared surface will delaminate, usually within the first year. The American Concrete Institute recommends a concrete surface profile (CSP) of 2 to 3 for most epoxy coating systems, which requires mechanical grinding rather than acid etching alone.
- Clear and clean the floor: Remove all vehicles, shelving, and stored items. Sweep and blow out all dust and debris.
- Degrease oil stains: Apply a commercial degreaser to any oil-contaminated areas and scrub thoroughly. Let it dwell for 10 to 20 minutes before rinsing.
- Test for moisture: Tape a 24-by-24-inch sheet of plastic to the slab for 24 hours. Condensation under the plastic indicates a moisture problem that needs to be addressed before coating.
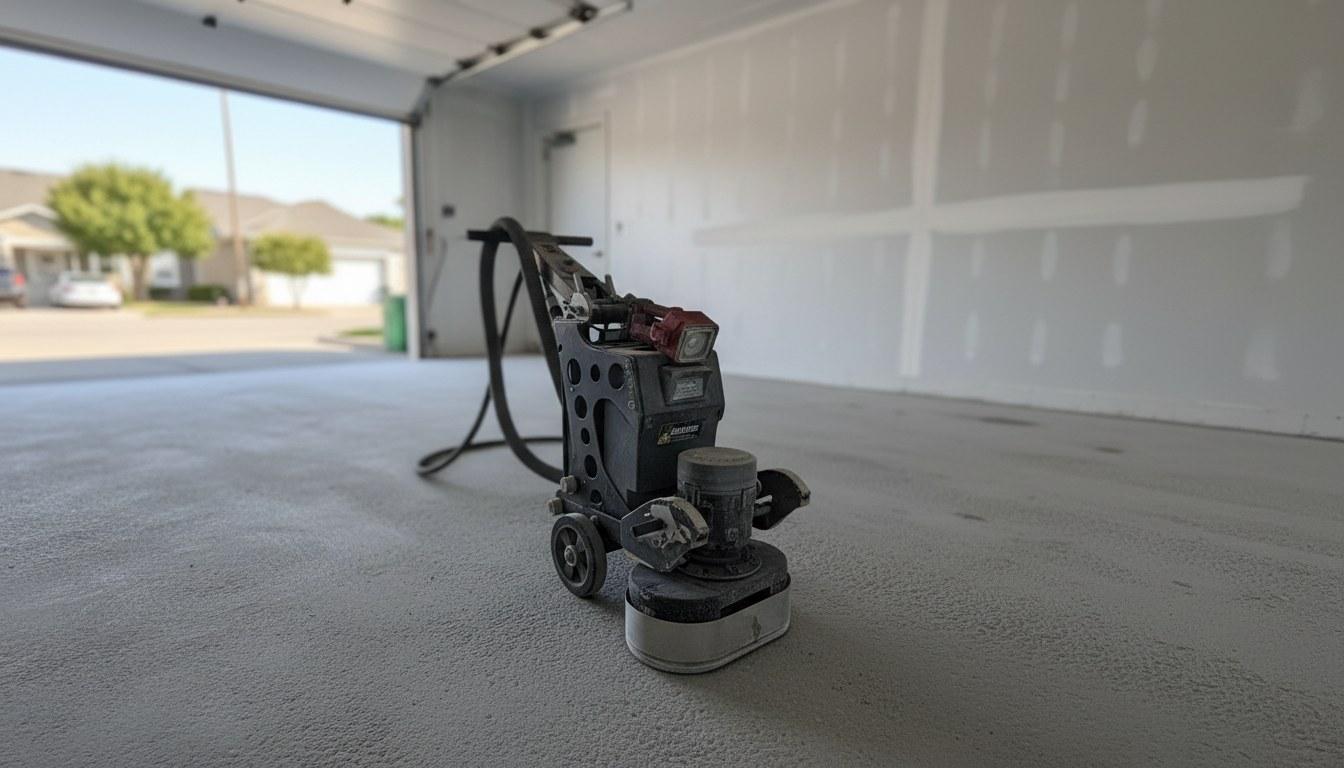
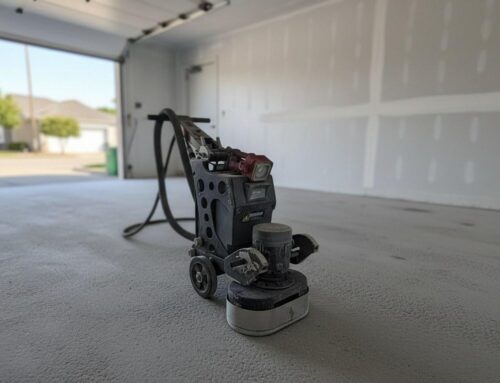
- Grind or shot-blast the surface: Mechanical grinding opens the concrete pores and removes any existing paint, sealer, or laitance. This step is non-negotiable for a lasting bond.
- Repair cracks and spalls: Fill all cracks and damaged areas with a compatible epoxy filler or polyurea patching compound. Allow full cure before proceeding.
- Vacuum and tack: Remove all grinding dust with an industrial vacuum. Any remaining dust will contaminate the first coat and cause adhesion failure.
- Apply primer coat: A penetrating epoxy primer seals the concrete and creates the foundation for the decorative system above it.
Skipping or rushing any of these steps is the leading cause of garage epoxy floor failure. California’s climate, particularly in areas with significant temperature swings between summer and fall, means concrete can expand and contract enough to stress a poorly bonded coating. As of 2026, most professional concrete floor coating contractors in California use diamond grinding as the standard prep method on residential garages, having moved away from acid etching over the past decade.
We track prep-related callbacks across our projects, and in our experience, roughly 90% of epoxy failures we are called to assess trace back to inadequate surface preparation, not the coating product itself.
Roughly 90% of epoxy failures we are called to assess trace back to inadequate surface preparation, not the coating product itself.
How to Get an Accurate Quote for Your Garage Epoxy Project
The most accurate quotes come from contractors who visit the site in person, measure the floor, test for moisture, and assess the concrete condition before naming a price. Online estimates based on square footage alone often miss the variables that most affect cost.
Have this information ready before your consultation:
- Garage dimensions: Length and width in feet, or total square footage if known.
- Current floor condition: Note any visible cracks, spalling, oil stains, or previous coatings. Photos help.
- Finish preference: Decide whether you want a solid color, chip and flake system, or a metallic or artistic epoxy finish. This affects the quote significantly.
- Intended use: A garage used for parking only has different performance needs than a workshop with chemical exposure or heavy equipment.
- Timeline: Fall is a popular season for garage upgrades in California because mild temperatures support ideal epoxy cure conditions. Booking early gives you more scheduling flexibility.
- Budget range: Sharing a realistic budget helps a contractor propose the right system rather than defaulting to the cheapest option.
California’s CSLB recommends verifying a contractor’s license before signing any contract for home improvement work. Ask for the license number and confirm it is active on the CSLB website. A licensed epoxy coating company carries the insurance and bonding that protects your property if something goes wrong during the project.
The garage epoxy flooring cost california homeowners ultimately pay is shaped by dozens of project-specific variables. Market ranges give you a useful starting point, but only a site visit produces a number you can actually budget against.
Get a Custom Quote from Five Star Epoxy and Coatings
The market ranges in this guide reflect real California pricing patterns as of 2026, but your project’s actual cost depends on your specific floor, your chosen finish, and the scope of prep work required. None of these ranges represent Five Star Epoxy and Coatings’s rates.
Five Star Epoxy and Coatings installs professional-grade garage epoxy flooring for residential, commercial, and industrial clients across California, including chip and flake systems, metallic and artistic finishes, solid color coatings, and heavy-duty industrial epoxy floors. Schedule your on-site assessment and get a written, itemized quote for your project.
Call (818) 355-3804 to speak with the Five Star Epoxy and Coatings team and book your consultation.
Frequently Asked Questions
Why should I epoxy my garage floor instead of leaving it as bare concrete?
Epoxy seals the concrete against oil, chemicals, and moisture, making the floor far easier to clean and resistant to staining. It also adds a slip-resistant texture and dramatically improves the look of the space. Bare concrete is porous and absorbs spills, while an epoxy coating keeps the surface protected for a decade or more with minimal maintenance.
How long does it take to epoxy a garage floor?
Most professional garage epoxy installations take one to two days for the application itself, plus a curing period before you can drive on the floor. Light foot traffic is usually safe after 24 hours, but vehicles should stay off the surface for at least 72 hours, and full cure to maximum hardness takes about seven days. Complex systems like metallic or multi-coat chip and flake finishes may require an additional day.
How hard is it to epoxy a garage floor yourself?
DIY epoxy kits are available at hardware stores, but achieving a professional result is genuinely difficult without commercial equipment. The biggest challenge is surface preparation: without a diamond grinder or shot blaster, the coating is unlikely to bond well and may peel within a few years. DIY is manageable for a small utility garage where aesthetics are not a priority, but for a long-lasting, great-looking floor, professional installation is a significantly better investment.
What is the best type of epoxy for a garage floor in California?
Chip and flake epoxy systems are the most popular choice for California garages because they balance durability, slip resistance, and visual appeal at a reasonable cost. For a high-end showroom look, metallic epoxy is an excellent option. For heavy-duty workshop use, a 100% solids industrial epoxy system provides the thickest build and the most resistance to chemicals and abrasion. The right choice depends on how you use the space and your budget.
How do I prepare my garage floor for epoxy before the contractor arrives?
Clear the garage completely: remove all vehicles, shelving, tools, and stored items so the entire floor is accessible. Sweep and blow out any loose debris. Point out any known cracks, oil stains, or areas of previous coating to your contractor during the walk-through. The contractor will handle the professional prep steps like grinding and moisture testing, but starting with a clear, accessible floor helps the job go smoothly and may reduce labor time.