Epoxy Flooring Guide: How to Find the Right Contractor and Get the Best Results
Choosing the right epoxy flooring contractor can mean the difference between a floor that lasts 20 years and one that peels in 12 months. This guide covers everything you need to know before signing a contract.
What Is Epoxy Flooring and Is It Right for Your Space?
Epoxy flooring is a multi-layer coating system applied directly to concrete that bonds chemically to create a hard, seamless surface. It is not paint — a true epoxy system uses a two-part resin and hardener that cures to a thickness of at least 2 mils, and professional-grade systems often reach 10 to 30 mils thick. That distinction matters because many big-box store “epoxy” kits are actually single-part latex paint that peels within one to three years under vehicle traffic or moisture.
Epoxy floors are well-suited for garages, commercial kitchens, warehouses, retail showrooms, and residential basements. They resist oil, chemicals, abrasion, and heavy rolling loads. In Southern California’s climate, where NOAA data shows low annual humidity but significant temperature swings in inland valleys, properly installed epoxy expands and contracts without cracking — provided the concrete substrate was prepared correctly.
Epoxy is not the right choice for every situation. Concrete with active moisture vapor transmission above 3 pounds per 1,000 square feet per 24 hours (measured by a calcium chloride test) needs a moisture-mitigating primer before any coating goes down. Skipping that step is the number-one reason epoxy floors delaminate.
What Types of Epoxy Coatings Are Available?
There are five main epoxy and epoxy-adjacent coating systems used in residential and commercial projects, and each one fits a different set of priorities around durability, appearance, and budget. Understanding the differences before you talk to a contractor puts you in a much stronger position to evaluate bids.
- 100% Solids Epoxy: The thickest, most durable option. Contains no solvents, so the full wet thickness becomes the cured thickness. Best for commercial floors and heavy-use garages. Typically applied at 10 to 30 mils.
- Water-Based Epoxy: Lower VOCs and easier cleanup, but thinner cured film (2 to 5 mils). Good for light-duty residential spaces or as a base coat under a polyaspartic topcoat.
- Solvent-Based Epoxy: Strong penetration into porous concrete, good adhesion. Higher VOC content means ventilation requirements during application. Used frequently in industrial settings.
- Polyaspartic Topcoat: Not a true epoxy but often used as a UV-stable finish layer over an epoxy base. Cures in as little as one to four hours, resists yellowing from sunlight, and handles California’s high UV index well.
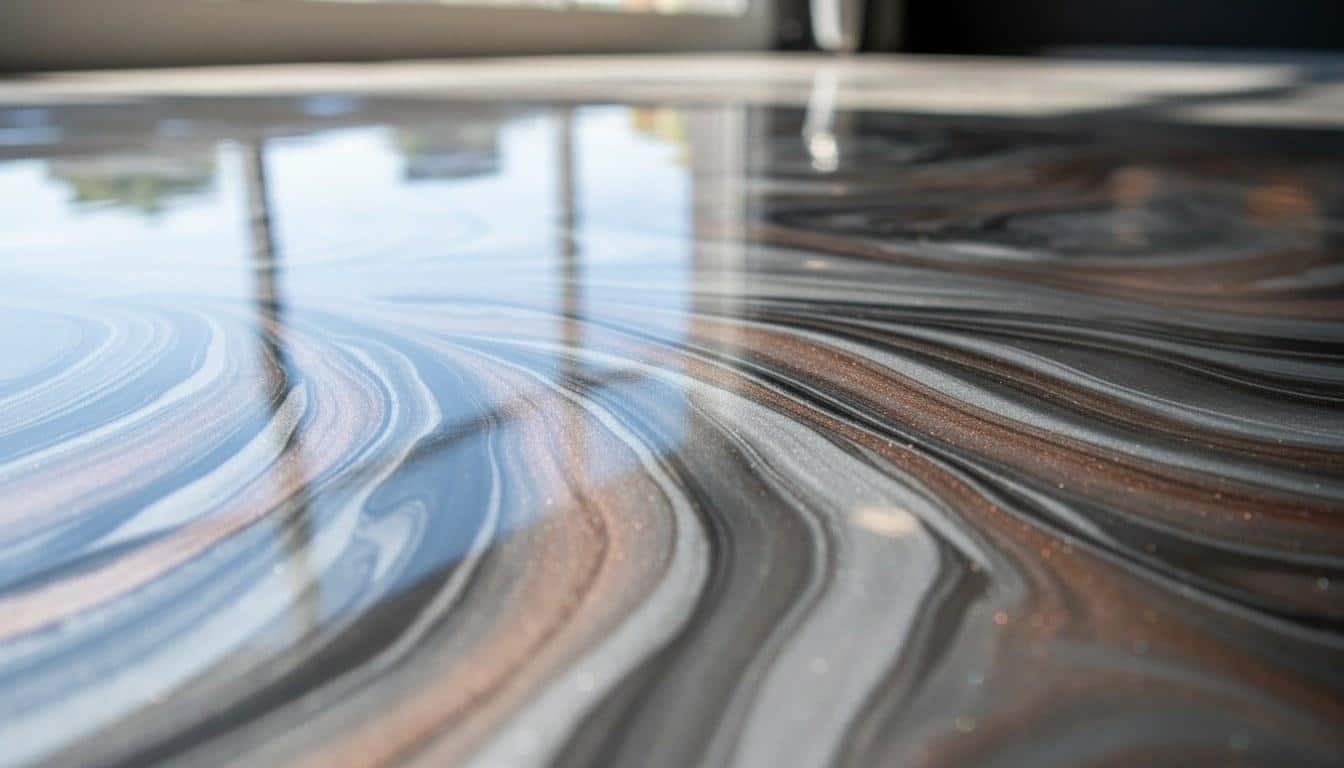
- Metallic Epoxy: A decorative 100% solids system with metallic pigments that create a three-dimensional, marbled look. Popular in retail, restaurants, and upscale garages. Requires a skilled applicator to achieve consistent results.
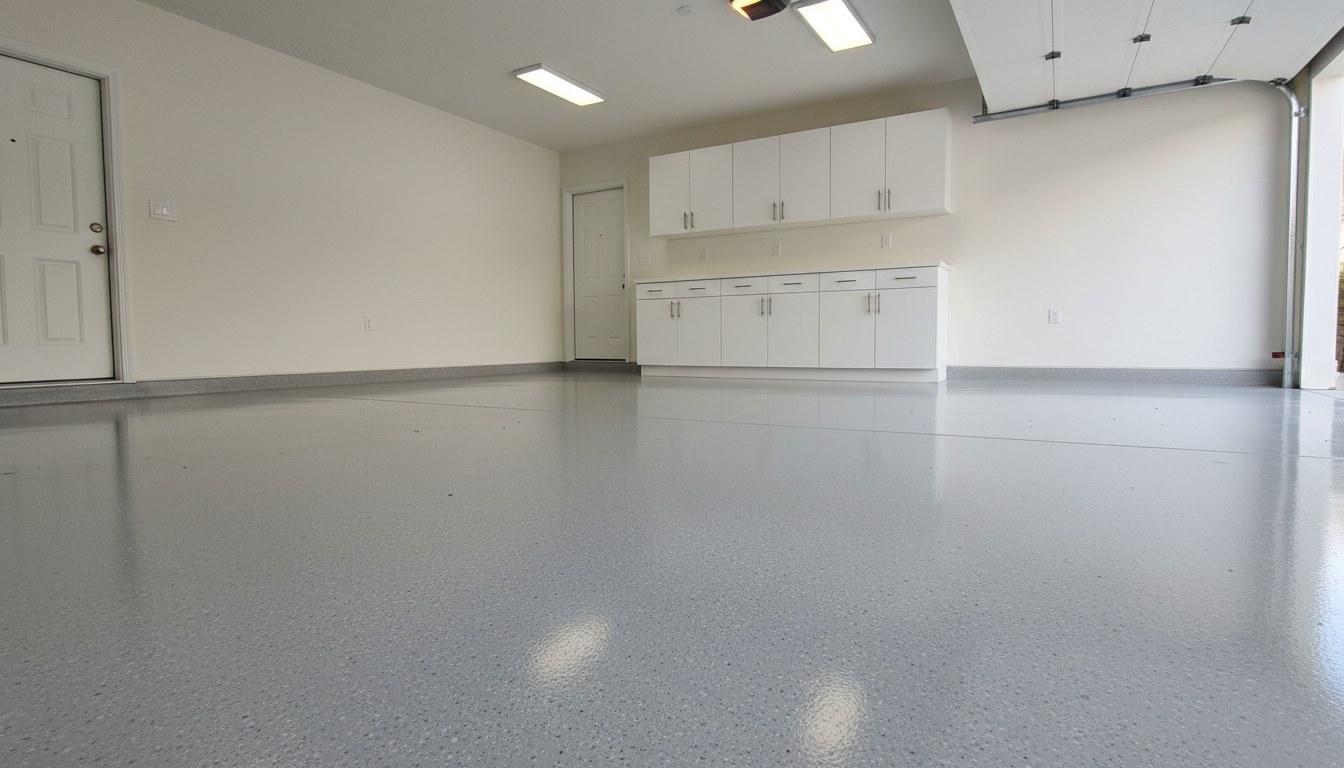
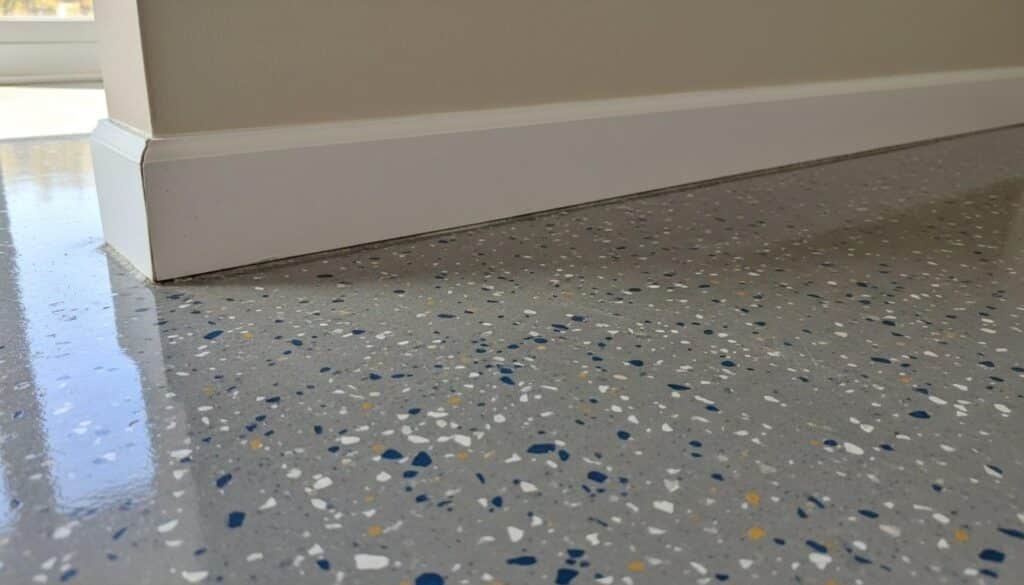
- Flake or Chip System: Vinyl color flakes broadcast into a wet epoxy base coat, then sealed with a clear topcoat. Hides minor surface imperfections, adds texture for slip resistance, and is one of the most popular residential garage finishes.
| Coating Type | Typical Thickness | Best For | UV Stable? | Relative Cost |
|---|---|---|---|---|
| 100% Solids Epoxy | 10–30 mils | Commercial, heavy-use garages | No (needs topcoat) | Moderate–High |
| Water-Based Epoxy | 2–5 mils | Light residential, base coats | No | Low–Moderate |
| Polyaspartic Topcoat | 3–8 mils | UV-exposed areas, fast-cure needs | Yes | Moderate |
| Metallic Epoxy | 10–20 mils | Showrooms, decorative spaces | No (needs topcoat) | High |
| Flake/Chip System | 10–20 mils total | Residential garages, workshops | With clear topcoat | Moderate |
How Much Does Epoxy Flooring Cost in California?
In the California market, professionally installed epoxy flooring typically ranges from $3 to $12 per square foot, with most residential garage projects landing between $1,500 and $4,500 for a standard two-car garage of roughly 400 to 500 square feet. Commercial and decorative systems with metallic finishes or multi-layer builds can reach $15 per square foot or more on complex jobs.
Several factors move the price within that range:
- Surface prep method: Diamond grinding (the professional standard) costs more than acid etching but produces far better adhesion. Expect surface prep to represent 25 to 40 percent of the total project cost.
- Concrete condition: Cracks, spalling, oil stains, and previous coatings all add labor. Patching and profiling a damaged slab can add $0.50 to $2.00 per square foot.
- Coating system chosen: A basic single-coat water-based system is the least expensive. A full flake system with a polyaspartic topcoat costs more but lasts significantly longer.
- Square footage: Larger projects benefit from economies of scale. A 5,000-square-foot warehouse floor will have a lower per-square-foot cost than a 200-square-foot laundry room.
- Topcoat type: Adding a polyaspartic or urethane topcoat adds $1 to $2 per square foot but extends the floor’s service life and improves UV resistance.
As of 2026, material costs for quality epoxy resins have stabilized after supply-chain volatility, but labor rates in California remain among the highest in the country due to the state’s prevailing wage environment. Always request a written, itemized quote. Call (818) 355-3804 to get a custom quote from Five Star Epoxy & Coatings based on your actual square footage and conditions.
What Should You Look for When Hiring an Epoxy Flooring Contractor?
The most important credentials to verify are a valid contractor’s license issued by the California Contractors State License Board (CSLB) and proof of general liability insurance. In California, any contractor performing work valued at $500 or more in labor and materials is legally required to hold a CSLB license. You can verify a license in minutes at cslb.ca.gov.
Beyond licensing, use these criteria to compare contractors:
- Surface prep process: Ask specifically whether they use a diamond grinder or shot blaster. Any contractor who proposes acid etching alone on a sealed or previously coated slab is cutting corners.
- Moisture testing: A professional should offer or recommend a moisture vapor emission test before coating. Skipping this step voids most manufacturer warranties.
- Product data sheets: Ask for the technical data sheet (TDS) for the specific epoxy system they plan to use. Reputable contractors have these on hand and can explain the cure time, mil thickness, and chemical resistance ratings.
- Written warranty: Look for a workmanship warranty of at least one to two years separate from any manufacturer product warranty.
- Portfolio of completed projects: Ask for photos of similar jobs — same coating type, similar square footage. Decorative metallic and flake systems require different skills than a plain commercial floor.
- References: Call at least two past customers and ask specifically about how the floor looks after 12 or more months of use.
Our team at Five Star Epoxy & Coatings uses diamond grinding on every project and provides a written scope of work before any deposit is collected. We see a consistent pattern across projects where floors that fail within the first year were applied over concrete that was never properly profiled — the coating looked fine at day one but had almost no mechanical bond to the slab.
What Mistakes Should You Avoid When Buying Epoxy Flooring?
The most costly mistake homeowners and business owners make is choosing a contractor based on price alone without verifying their surface prep process. A low bid almost always means shortcuts in the labor-intensive prep phase — and that is exactly where epoxy floors fail.
- Accepting a verbal quote only: Always get a written, itemized proposal that specifies the coating system, number of coats, mil thickness, cure time, and warranty terms.
- Skipping the moisture test: In California’s coastal communities, concrete slabs can have higher moisture vapor emission than they appear. A calcium chloride test costs very little compared to a delaminated floor.
- Choosing a big-box DIY kit for a garage: Consumer-grade single-part epoxy paint typically cures to less than 1 mil thick. Professional systems cure to 10 mils or more. The difference in durability is not marginal — it is the difference between 1 to 3 years and 15 to 20 years of service life.
- Not asking about temperature and humidity windows: Epoxy should not be applied when concrete surface temperature is below 50°F or above 90°F, or when relative humidity exceeds 85 percent. Contractors who don’t mention these conditions may not be monitoring them.
- Ignoring cure time requirements: Most epoxy systems require 24 to 72 hours of foot-traffic cure and five to seven days before vehicle traffic. A contractor who says you can park on it the next day is likely using a product that hasn’t fully cured — or one that won’t last.
- Assuming all epoxy looks the same: Decorative systems like metallic epoxy require a skilled applicator. Ask to see actual completed projects, not just manufacturer renderings.
What Does the Professional Epoxy Installation Process Actually Look Like?
A professional epoxy installation follows a defined sequence that typically takes one to three days from prep to final topcoat, depending on the system chosen and the square footage involved. Understanding each step helps you hold a contractor accountable and spot shortcuts before they become your problem.
- Site assessment and moisture testing: The contractor inspects the slab for cracks, previous coatings, oil contamination, and moisture vapor emission. This step determines which primer and coating system is appropriate.
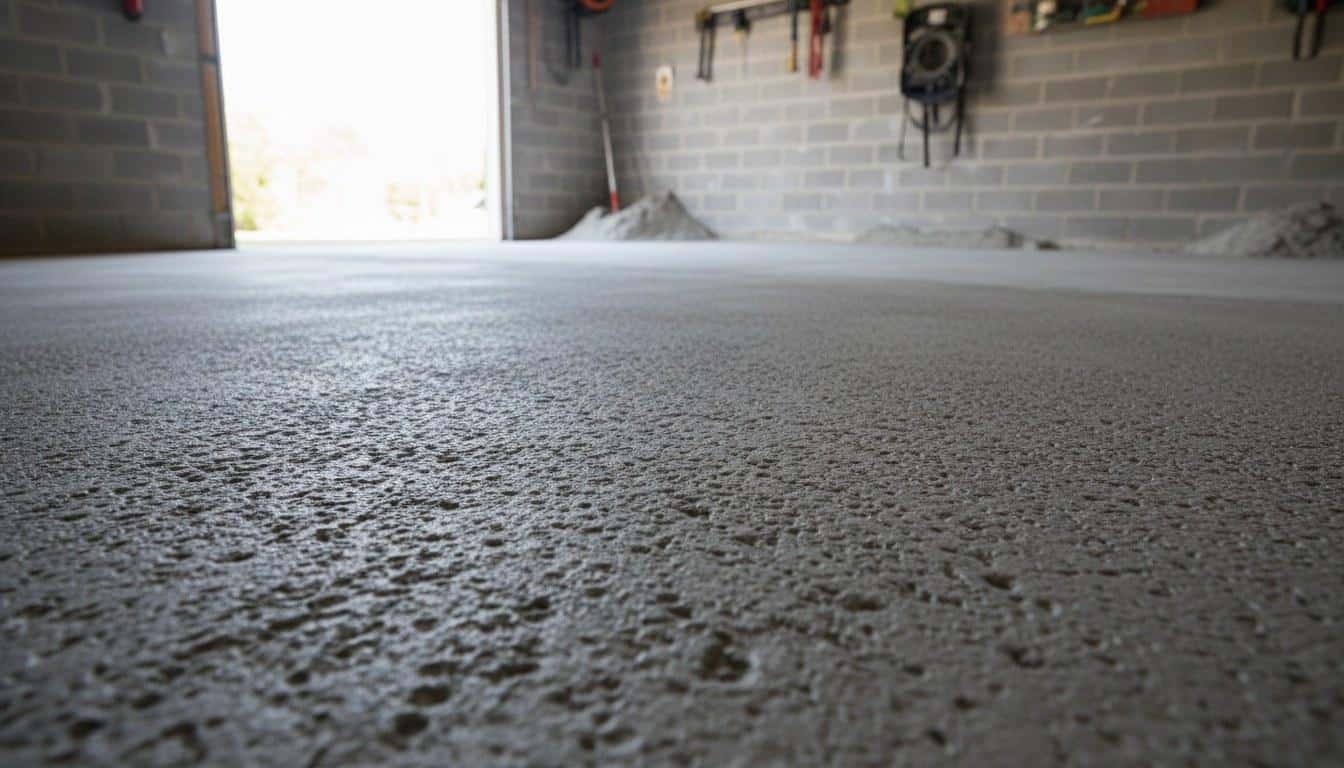
- Concrete surface preparation: Diamond grinding or shot blasting opens the concrete’s pores and creates a surface profile (typically a CSP 2 to CSP 3 per ICRI standards) that the epoxy can mechanically bond to. This is the most critical step in the entire process.
- Crack and spall repair: Any cracks wider than a hairline are filled with a polyurea or epoxy crack filler and allowed to cure before coating begins.
- Primer coat application: A penetrating epoxy primer seals the slab and blocks moisture vapor. On slabs with elevated moisture readings, a two-part moisture-mitigating epoxy primer is used instead of a standard primer.
- Base coat application: The main epoxy coat is applied at the specified mil thickness. For flake systems, vinyl chips are broadcast into the wet base coat at this stage.
- Flake or pigment work (if applicable): Excess flakes are scraped and vacuumed. For metallic systems, the applicator manipulates the pigment with air or tools to create the desired pattern before the coat gels.
- Topcoat application: A clear polyaspartic or urethane topcoat is applied to protect the color layer, add UV stability, and provide the final gloss or matte finish. This coat also determines the floor’s slip resistance rating.
- Cure and inspection: The contractor walks the finished floor, checks for pinholes or fisheyes, and confirms cure before handing the space back. Most systems allow foot traffic in 12 to 24 hours and vehicle traffic in five to seven days.
Across our projects in Southern California, we find that concrete slabs poured before 1990 are roughly twice as likely to have active moisture issues than slabs poured after 2000 — which means older residential garages almost always benefit from a moisture-mitigating primer rather than a standard one.
Concrete slabs poured before 1990 are roughly twice as likely to have active moisture issues than slabs poured after 2000, making a moisture-mitigating primer essential for older garages.
Get an Expert Assessment for Your Project
Use this epoxy flooring guide as your starting checklist before you call any contractor. Verify their CSLB license, ask about their prep process, and get everything in writing. If you are in Southern California and want a straightforward assessment of your slab’s condition and the right coating system for your space, contact Five Star Epoxy & Coatings.
Call (818) 355-3804 to schedule a free on-site evaluation. Get a written, itemized quote with no obligation — and know exactly what system is going on your floor and why before any work begins.
Frequently Asked Questions
How much does it cost to install an epoxy garage floor?
In the California market, epoxy garage floor installation typically ranges from $3 to $7 per square foot for a standard flake or solid-color system. A two-car garage of 400 to 500 square feet generally runs between $1,500 and $3,500 installed. The biggest cost variables are the condition of the concrete, the coating system chosen, and whether a moisture-mitigating primer is needed. Call (818) 355-3804 for a custom quote based on your actual slab.
How long does an epoxy garage floor last?
A professionally installed epoxy floor system with a polyaspartic or urethane topcoat typically lasts 15 to 20 years in a residential garage under normal vehicle use. DIY single-part epoxy paint from a big-box store usually lasts one to three years before peeling. The biggest factor in longevity is surface preparation — specifically whether the concrete was diamond-ground before coating.
Can epoxy flooring be installed over an existing coating or painted concrete?
Yes, but the existing coating must be fully removed or mechanically abraded first. Applying epoxy over paint or a failed previous coating almost always leads to delamination within months. A professional contractor will grind or shot-blast the surface down to bare, profiled concrete before any new product goes down. This step cannot be skipped without compromising the bond.
How do I know if my concrete is ready for epoxy?
Concrete must pass a water absorption test — sprinkle water on the surface and it should absorb within 30 seconds. If it beads, the slab is sealed and needs grinding. A professional will also perform a moisture vapor emission test and check for cracks, oil contamination, and previous coatings. In California, slabs poured before 1990 are more likely to have moisture issues that require a special primer.
How long do I have to stay off the floor after epoxy is applied?
Most professional epoxy systems allow light foot traffic after 12 to 24 hours and are safe for vehicle traffic after five to seven days. Rushing this cure window — especially with heavy vehicles — can cause surface impressions or delamination. Temperature also affects cure time: cooler conditions slow the process, so in winter months an extra day of cure time is often recommended.